Whipped Frozen Peanut Butter Pie Recipe
With just 5 ingredients, this Frozen Peanut Butter Pie recipe is a creamy, dreamy dessert that takes just 10 minutes to prep! This yummy no-bake pie made with cream cheese and the choice of a graham cracker or chocolate Oreo cookie crust is extra delicious and will have everyone asking for another piece!
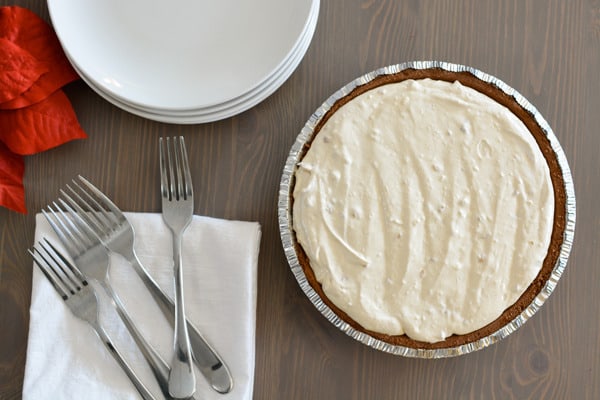
You will crave this Frozen Peanut Butter Pie recipe. Trust me.
I used to love going to my grandmother’s house near the holidays because she made this freezer pie for us every year.
And I’d like to say it’s her recipe. But she was known to steal recipes. (Check out the Blue Cheese Vinaigrette Dressing she stole from a neighbor!)
The holidays can get crazy, fast. What I love about this no-bake Peanut Butter Pie is that it’s quick to make and is always a real crowd-pleaser. And OMG it’s SO ridiculously tasty.
Why you’ll love this Peanut Butter Cool Whip pie
The holidays are the perfect time to take a trip down memory lane with old-fashioned recipes (like this caramel corn and cinnamon hard candy). This Frozen Whipped Peanut Butter Pie is totally nostalgic for me.
This dessert needs just 5 ingredients including the ready-made crust.
And it takes just a few minutes to put it all together. Waiting for it to freeze fully is the hardest part!
If you like to have your kids help you in the kitchen this is a great recipe for that since it’s almost fool-proof.
I’m not a huge peanut butter fan but there is something about the way it mixes with the powdered sugar and Cool Whip in this no-bake pie to create dessert magic.
Related: Frozen Strawberry Yogurt Pie
Because this dessert must be made ahead, it’s a great recipe to make for company. It also doesn’t require any decorating (but you can) so it’s great for people who don’t have a lot of kitchen confidence (me, my hand is raised).
Thanks to a food allergy, some of my family members can’t have peanut butter. This Brown Sugar Pie is also super delicious! It’s crazy easy and has the most buttery, caramel flavor that everyone will love.
Ingredients
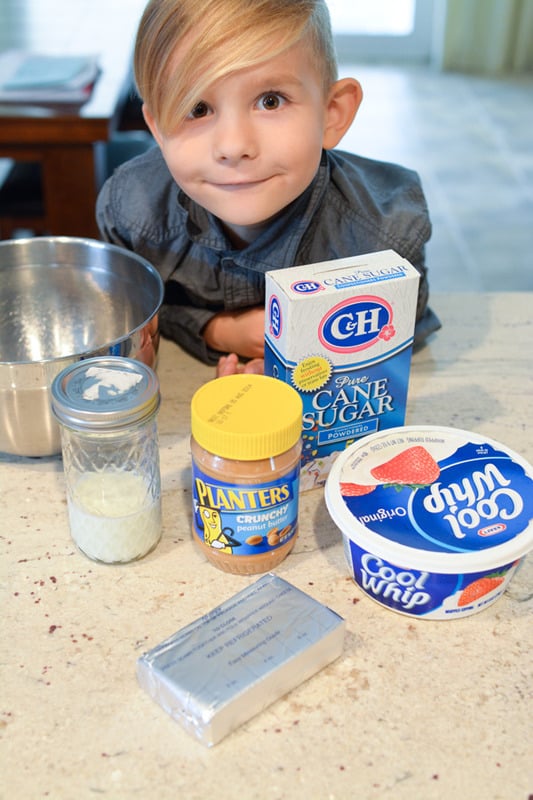
- Peanut Butter (I prefer chunky but smooth is fine too)
- Cool Whip
- Powdered Sugar
- Milk, I used whole milk, but low-fat would work too.
- Cream Cheese
- Graham Cracker or Chocolate Cookie Ready-Made Crust
Substitutions
If you have a nut allergy as we do, you can try to substitute SunButter or Almond Butter in place of the peanut butter. I did this in my SunButter Cookie recipe and the tastes are very similar.
My grandmother used creamy peanut butter, but I like a little crunch in my peanut butter and Cool Whip pie.
I have not tried using non-fat or dairy alternatives for the milk and whipped topping so I can’t speak to if those would work or not.
This could probably be made gluten-free with the correct type of crust too.
My grandma used a graham cracker crust while I prefer a chocolate Oreo cookie crust when I can find it. You KNOW how good peanut butter and chocolate is together.
Directions
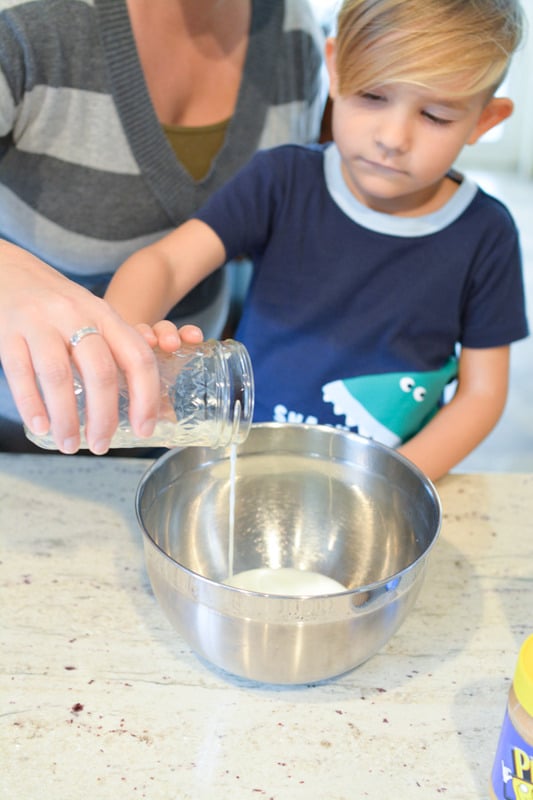
Step 1
To a large bowl add the milk, the softened cream cheese, powdered sugar and Cool Whip.
I’d also just like to note that my son, in the photos, is now in high school so… I’ll be right back, just going to weep a little.
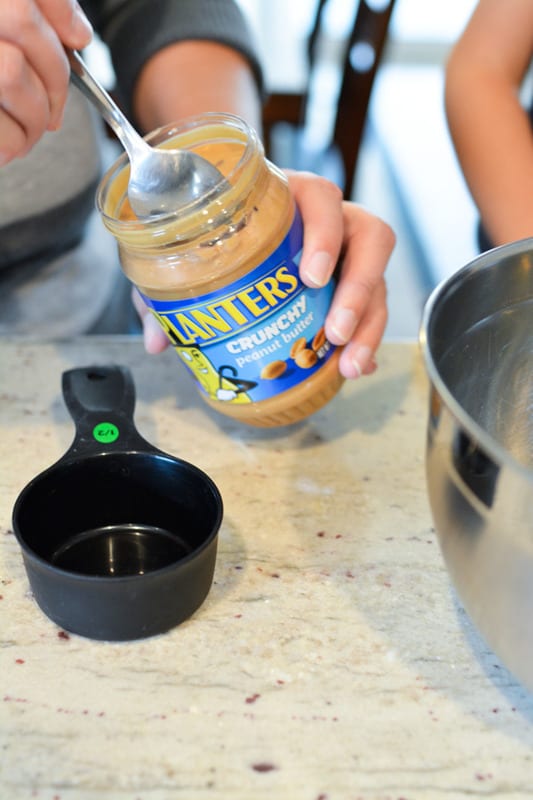
Step 2
Add the peanut butter.
Step 3
Use a hand mixer to mix everything until smooth and fully combined.
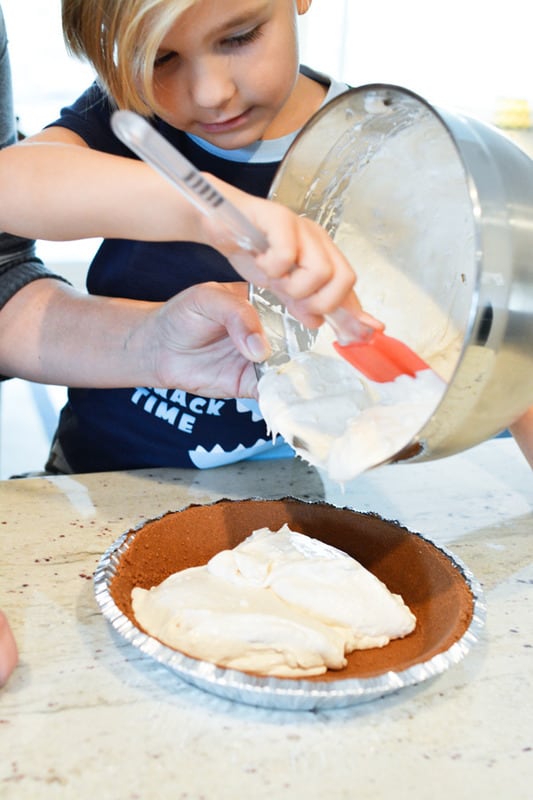
Step 4
Scrape the fluffy, creamy peanut butter mixture into the pie crust.
Step 5
Then place in the freezer for at least 4 hours.
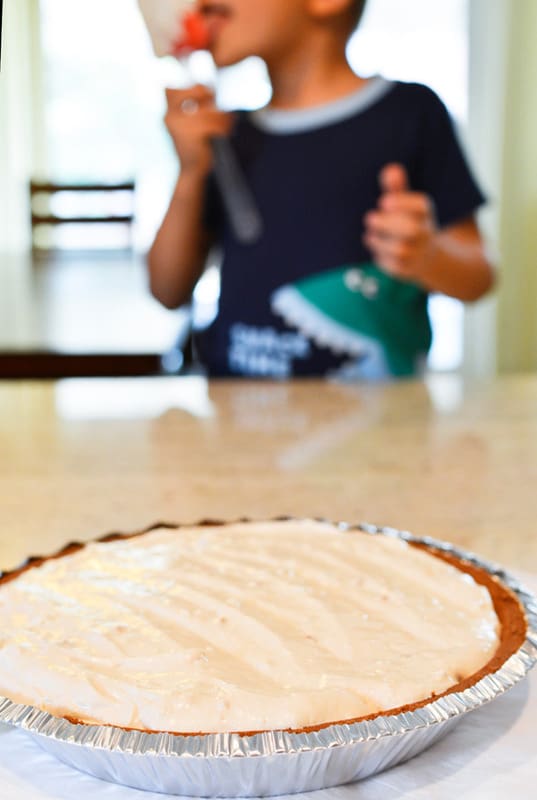
It seems like it gets little ice crystals and is the most amazing consistency! It’s pure pie magic!
To Serve
Take the pie out of the freezer about 15 minutes before you’d like to serve it. You’ll need to test to see if you can get a knife easily through it.
Tips and tricks
- Because the pie crust comes in a disposable pan, this is a great dessert to make when you need to transport it to another place. You don’t need to worry about getting your dish back after – but remember you don’t want it to thaw too much outside the freezer!
- If you think this looks a little plain you can add a simple chocolate drizzle, a nice mound of whipped cream or even crumbled Oreo cookies.
- You can make your own Graham Cracker Crust if you prefer.
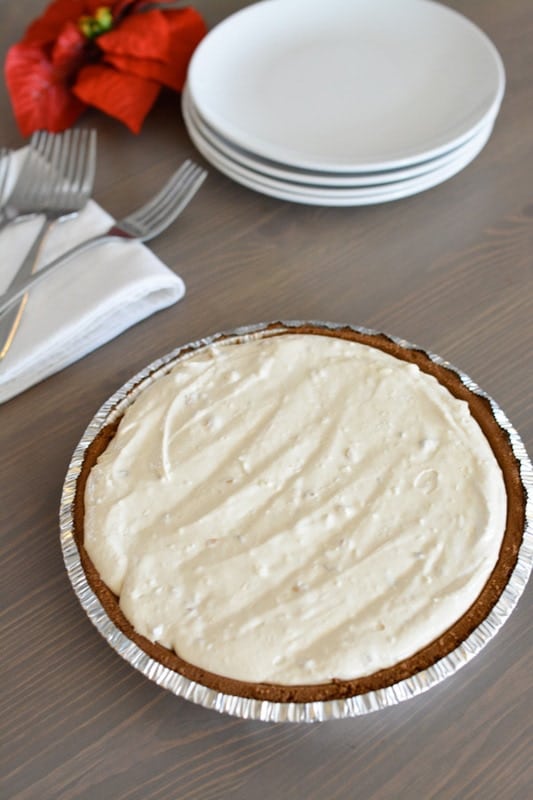
Promise me you’ll try this Frozen Peanut Butter pie this year, m’kay?

Frequently Asked Questions
To store leftovers, cover the pie pan tightly and place the pie back into the freezer. I would only do that after the first serving. If there are loads leftover (but you probably won’t have this problem!) you can always slice the pie before re-freezing so you can just thaw individual slices.
This pie will last in the freezer for about a week as long as it’s tightly covered.
To soften cream cheese quickly remove all packaging and place on a microwave-safe plate. Microwave for 15 seconds. It should be soft enough to mix well. If there are any liquids on the plate be sure to scrape those into the bowl as well.
More easy pie recipes
- Fireball Whiskey Pumpkin Pie
- 5-ingredient Brown Sugar Pie
- Banana Pudding Pie with Nilla Wafers
- Frozen Strawberry Pie with Graham Cracker Crust
- Best Pie in a Cake Recipe
Save this and Pin it for later!
If you want to save this recipe make sure you Pin it for later! If you are not already you can follow me on Pinterest, as well as keep up with me on Facebook, Instagram and YouTube. If you make this recipe make sure to tag me in your photos and leave a star rating below!
Frozen Peanut Butter Pie
Ingredients
- 1/2 cup milk
- 3 oz. cream cheese softened
- 1/2 cup smooth or crunchy peanut butter
- 1 container Cool Whip
- 3/4 cup powdered sugar
- Pre-made graham cracker crust or chocolate cookie crust
Instructions
- In a large bowl add milk, softened cream cheese, peanut butter, powdered sugar and Cool Whip.
- Use a hand mixer to blend completely until smooth.
- Scrape the peanut butter mixture into the ready-made crust.
- Freeze for at least 4 hours.
- To serve, let stand at room temperature for about 15 minutes before slicing.
Notes
- If you think this looks a little plain you can add a simple chocolate drizzle, a nice mound of whipped cream or even crumbled OREO cookies.
- To soften cream cheese quickly remove all packaging and place on a microwave-safe plate. Microwave for 15 seconds. This should make it soft enough to mix well. If there are any liquids on the plate be sure to scrape those into the bowl as well.


