DIY Garland with Fabric Fringe
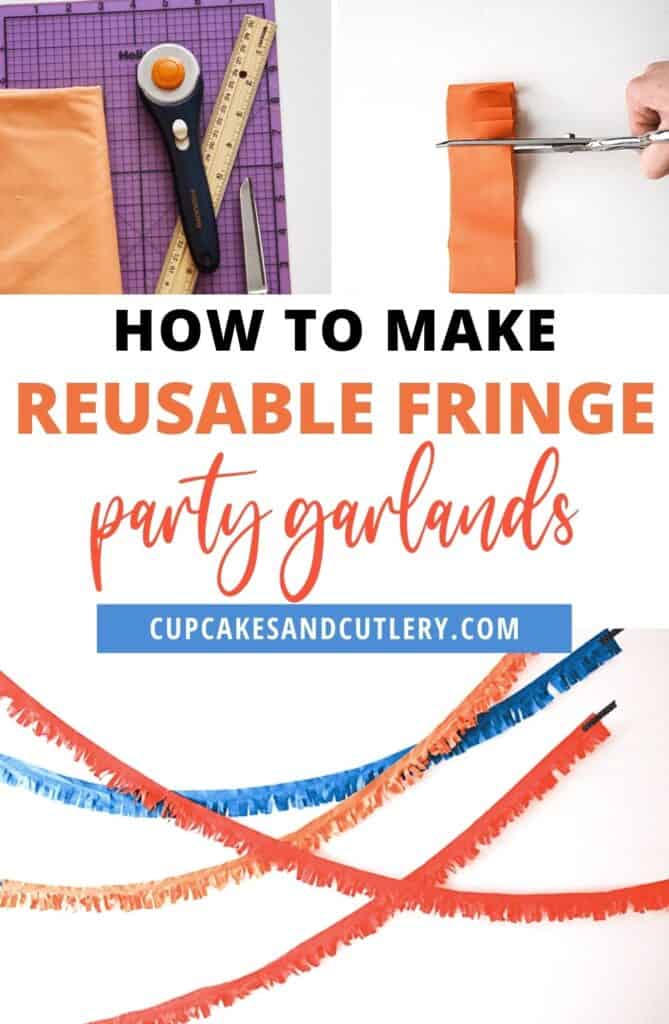
Make DIY Fabric Fringe Garland for your next party! This easy tutorial will show you how to make colorful, reusable decorations that are inexpensive.
Homemade garlands are a great way to add color to your home and help reinforce your party theme and color palette in a super simple way! If you love hosting parties at home, this is a fun idea that you can use over and over again.
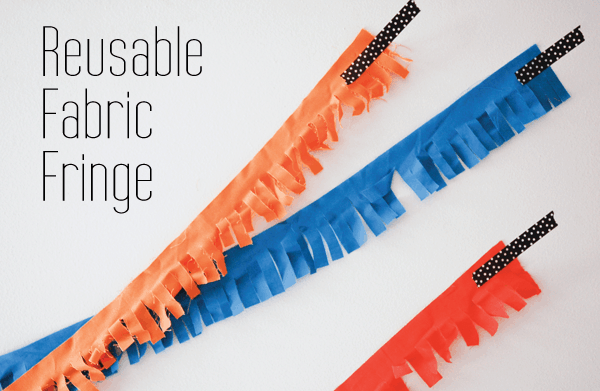
I first used these garlands at Lauren’s For, Like, Ever themed wedding shower but know they will be perfect for so many other types of parties!
A DIY garland makes the perfect party decoration. And this garland, made of fabric fringe, will suit any type of party theme.
Why This Project Works
I love the idea of a reusable garland, don’t you?
In just minutes, you can whip up homemade garlands that perfectly match your party. Whether you’re just sticking to specific colors, or you use patterned fabric to help promote a certain vibe, these easy garlands are party perfection.
With just a few supplies, you can make a fun party decoration while watching your favorite TV show (that’s how I prefer my crafting time).
And once the party is over, you can fold them up (or just toss them in a bag!) to save for your next party.
The finished product is similar to my homemade Ruffled Streamers made from plastic tablecloths!
Supplies
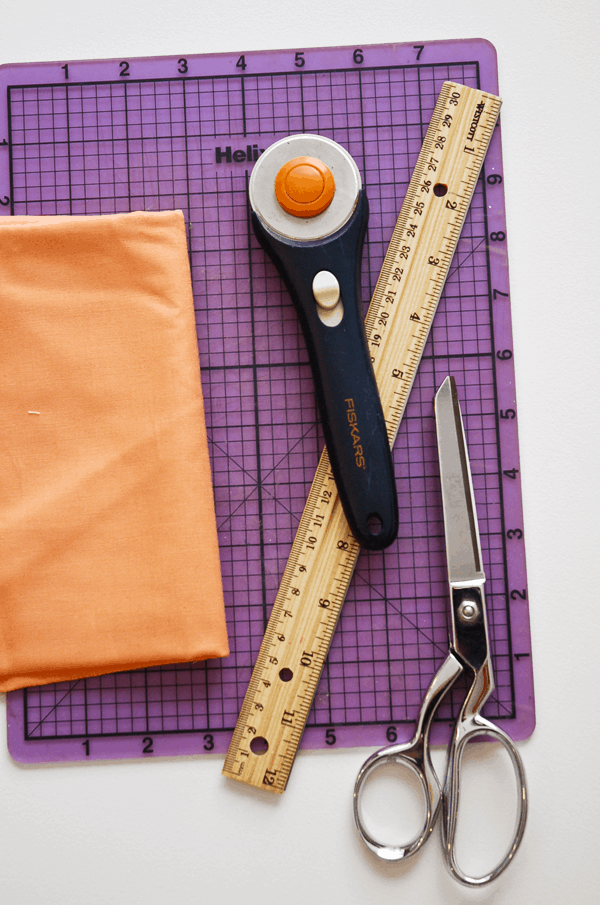
- Fabric
- Rotary cutter
- Ruler or straight edge
- Cutting mat
- Scissors
- Tape (to stick to the wall)
If you want really long garlands, you will need to make sure that you have continuous yardage of fabric – or you can always tack shorter ones together.
You can also use small thumb tacks or straight pins, but I prefer to use washi tape as it adds another decorative touch and usually doesn’t hurt the wall paint or other finishes.
Instructions
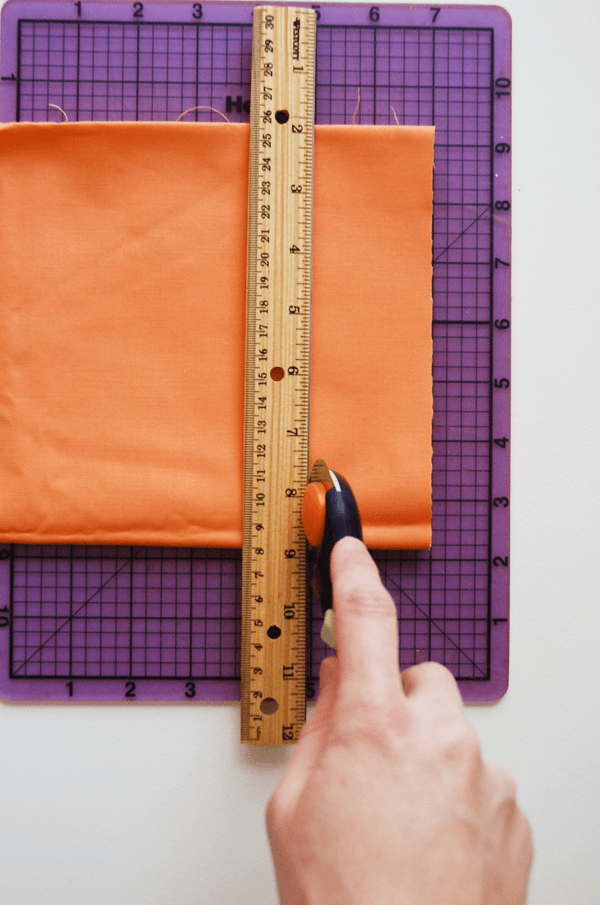
Fold the fabric. As you can see from the photo above, you want a fold at the top and bottom, that will ensure you are cutting one long strip instead of a bunch of shorter ones.
Fold it as many times as you want, you just need to be able to cut through the layers with the rotary cutter.
Cut them as wide or as skinny as you want. And cut as many strips as garlands you’ll want for the party.
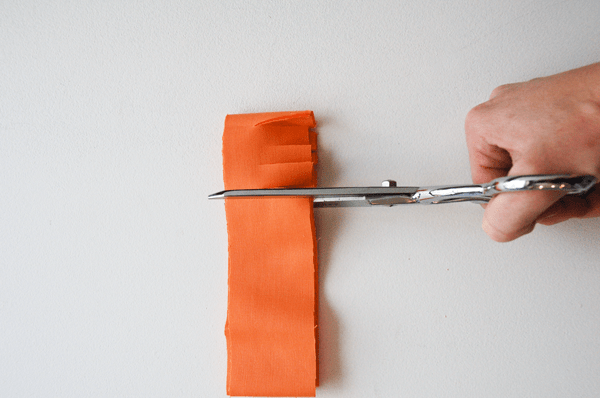
Without unfolding your fabric, start making your fringe cuts. Remember not to cut all the way through!
If you find that it is too difficult to cut through with the scissors, unfold the fabric once so it’s a little less thick.
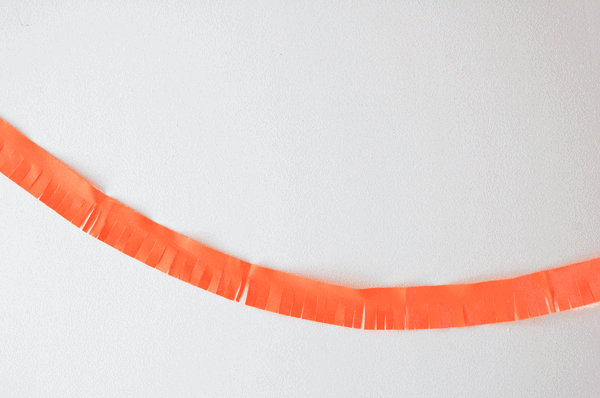
And that is all you have to do besides hang it up for your party. This is what it looks like when hung on the wall.
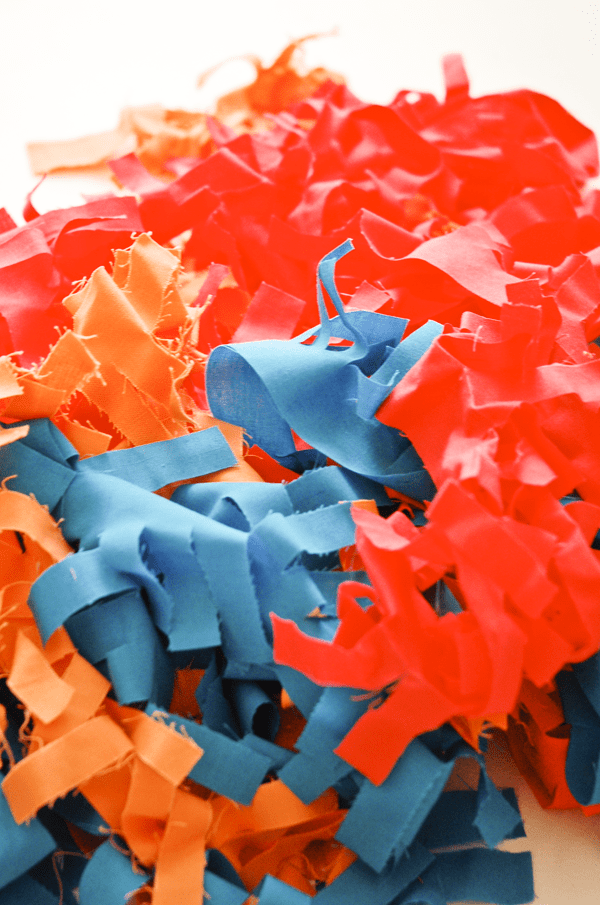
One of the cool things about these is that depending on how you store them, they have a bit of a different look. If you keep them folded nice and smooth after use, they will remain pretty flat.
However, if you store them as I did above, they come out kind of crinkled and with a whole new look.
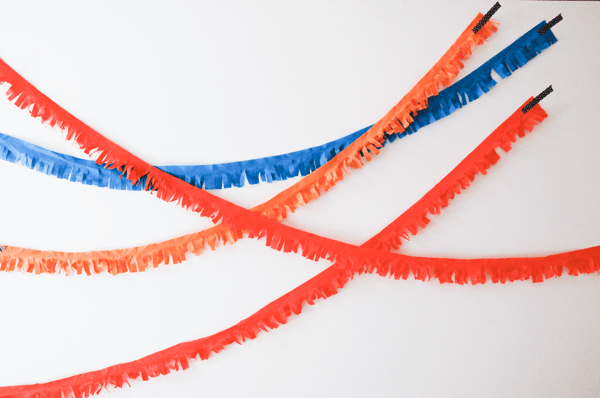
This is the perfect simple party craft. You can use a variety of colors or just one.
You can also use old shirts or reuse other fabrics, like an old sheet, if you don’t want to buy new fabric.
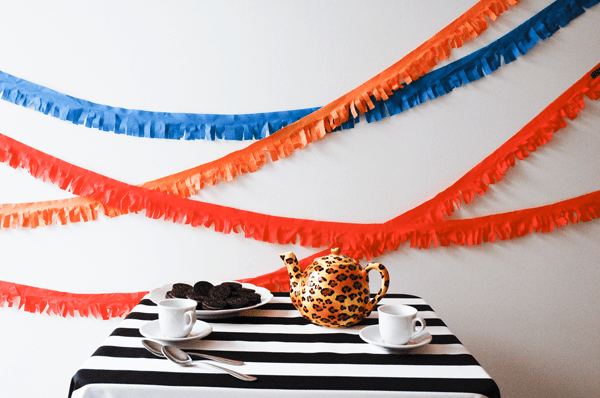
I will be saving these reusable fabric fringe garlands for years. They are so easy to store and I can hang them in a ton of different ways to get different looks.
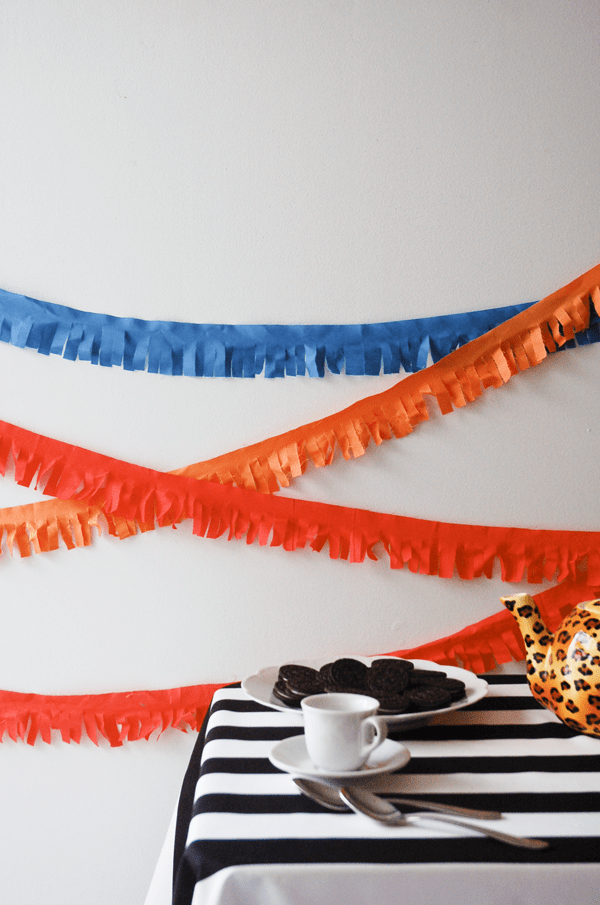
And since I’m totally type A, I think I will use these for my son’s teacher’s birthday. Next year. I don’t even know who his teacher is yet since this year isn’t over.
This also means I have not officially been elected room mom. But it’s always good to have a plan. (Crazy, much?)
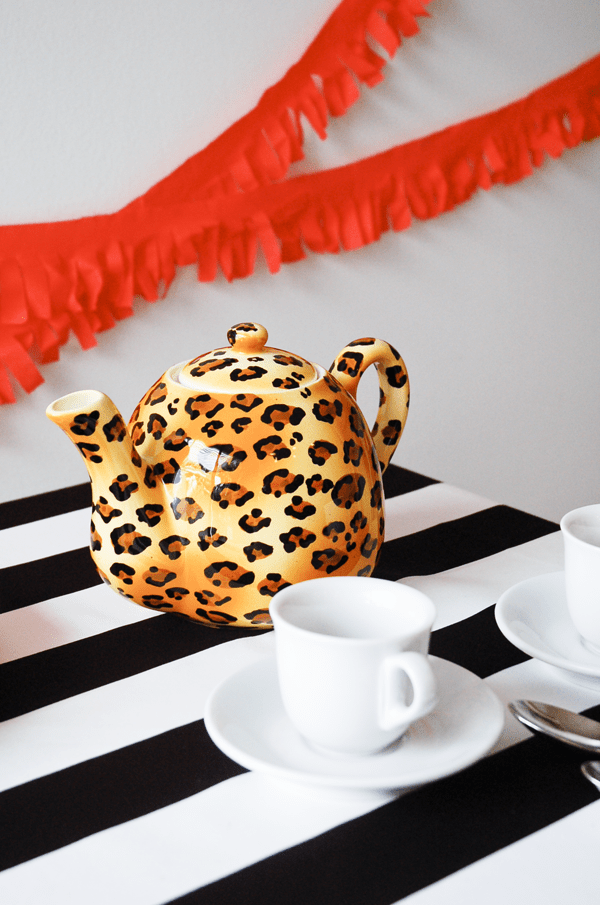
Do you prefer to reuse party items or make new things each time? I have to say, a DIY garland is awesome!
Related Posts
- Use a Photo Banner to welcome everyone to your party (or as a holiday gift idea!)
- A knotted Yarn Garland is an easy wall decoration that works for party decor or any time style.
- This Loom-inspired Rubber Band Garland is super cool and unique party garland idea.
- Add some color to your party with DIY Link-a-Loon Balloon Columns. They’re SO easy.
- Even if it’s not a Minecraft party, this fun Customizable Letter Banner Idea will be a great addition to any celebration.


Oh! I love these, super cute.
Thanks Carmen! I’m not patient enough for tissue paper. :)
These turned out so well, Sharon! Love ’em!
Could Be Interesting Blog
Thank you Emily!! We should catch up! It has been so long!