Balloon Chandelier DIY
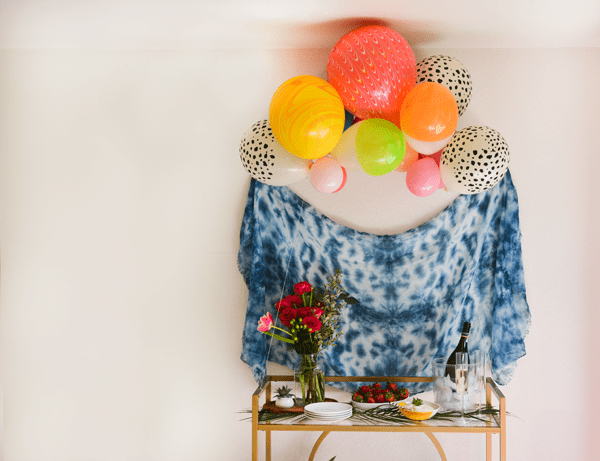
This easy Balloon Chandelier makes a great party decoration for any type of party. With a variety of colors and sizes, this is easy to recreate at home in just a few steps!
This post is sponsored by Balloon Time Helium Tanks.
I love balloons! I think they are the best party decorations ever. While I am a big wuss and hate when they pop, I really do love using them when entertaining. I’ve been wanting to create a balloon chandelier for a while now.
While this is not hanging from the ceiling, like a chandelier would (because helium won’t really let you do that…), I love that it still gives the vibe. You know you want to make one of these for your next party!
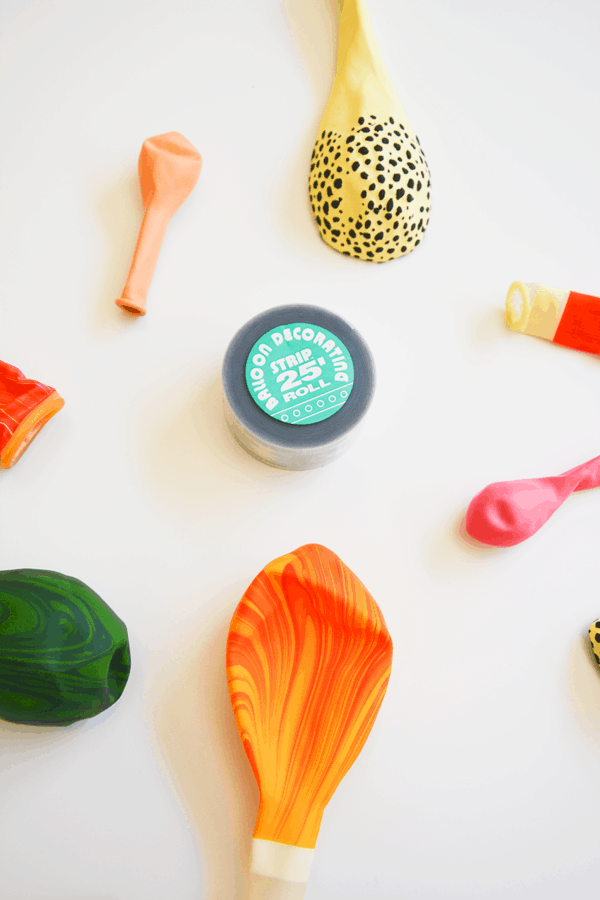
Since I like balloons so much, I have quite a little collection started. And I’ve had this balloon decorating strip burning a hole in my craft supplies. I decided that this was the right project for it and it proved to be the perfect thing to create my balloon chandelier.
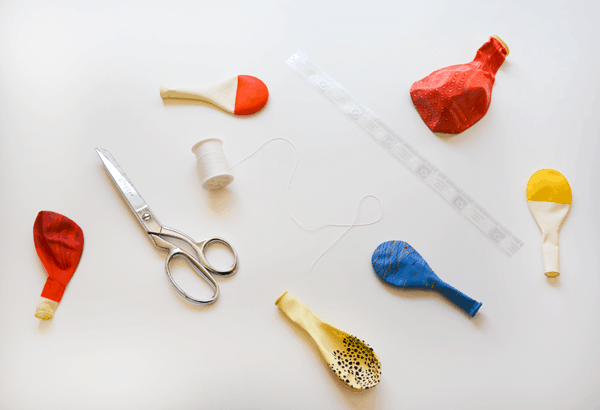
This balloon decoration is really easy to make. You just need a bunch of balloons (they can be in fun patterns or coordinating colors), some scissors, a piece of ballon decorating strip and thread. I had intended to use fishing line originally but it can be hard to tie knots with so I went with a thin white thread instead. Although you can see it a little, I don’t think it ruins the effect.
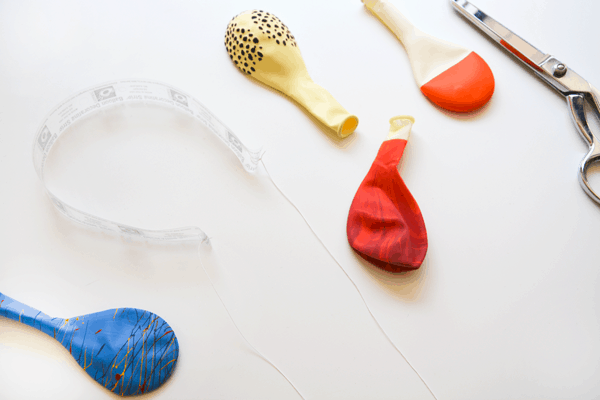
Essentially, this balloon chandelier is like a tiny little balloon arch. I tied the string through the holes on both ends of the decorating strip and then could start adding my balloons. The decorating strip has two sized, alternating holes along the length of it. All you have to do to start creating balloon magic is to pull the knot end of the balloon through the hole size that makes the most sense. So easy.
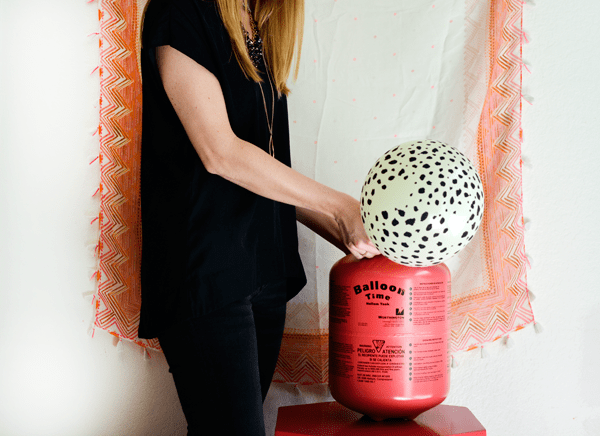
If you don’t have a Balloon Time Helium Tank in your garage at all times, you are doing it wrong. I can’t tell you how often I use mine. Of course it’s perfect for creating party decor but it is SO fun to be able to blow up a balloon to surprise someone with!
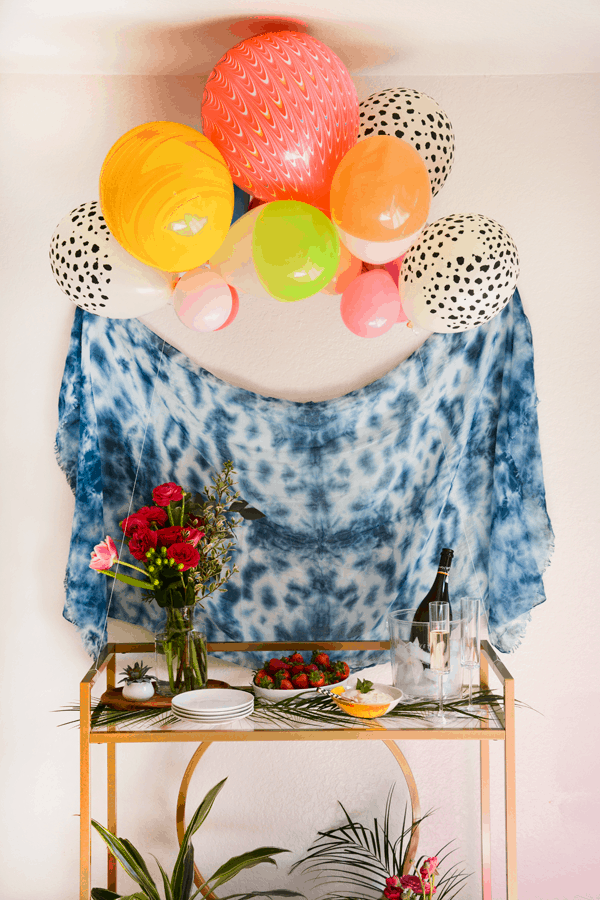
To create the chandelier, I started on one side of the strip and added a few balloons. Then I added a few more to the other side, keeping in mind of how the colors looked next to each other. Then I figured out how low I wanted the left side to start and tied it to the bar cart. I used helium for the majority of the balloons, but I wanted some to hang down also so I blew some up and hung them upside from the decorating strip. Then I loosely tied the right end so I could start to set the finished look. Balloons can be a pain to work with since they are always moving. I just tried to work with them as I went to get the look I wanted. When it was about the size I wanted it to be, I tied the string on the left side to the bar cart. I stood back and looked to see if there were any holes that needed filling in and added a few more balloons.
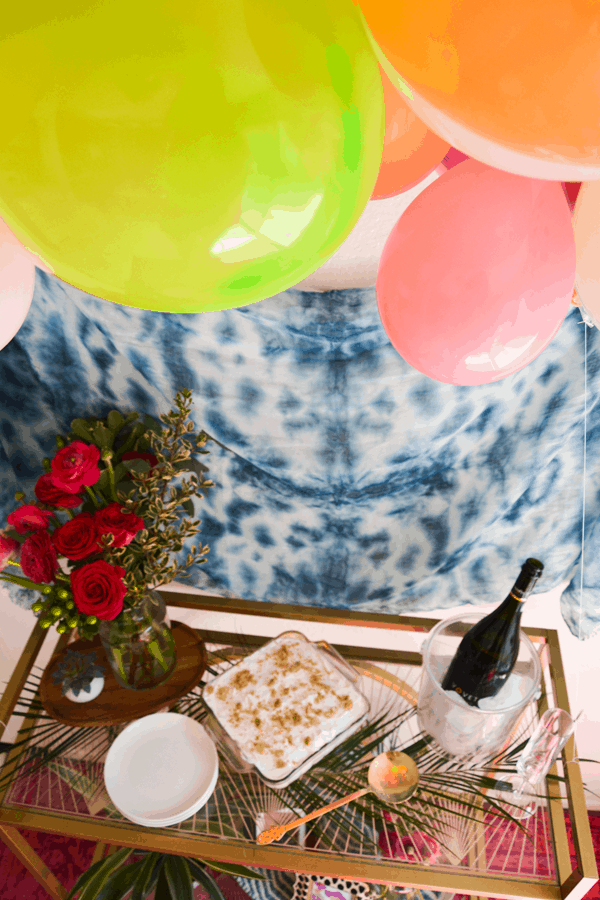
So fun, right?!
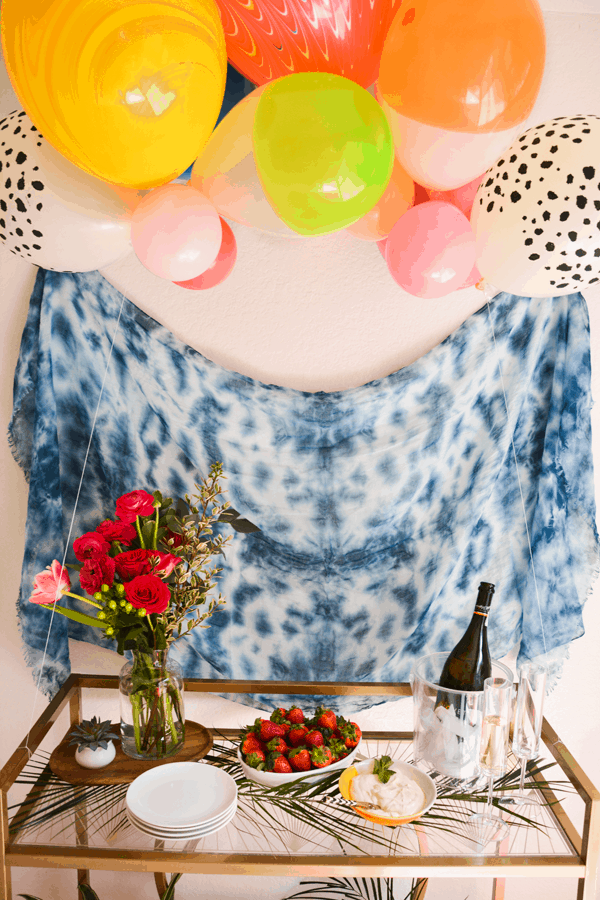
I love how this balloon chandelier turned out! Although I set this one up for a bright colored bridal shower, this decoration would absolutely work in all kinds of party situations and other celebratory events. I mean, how cute would this look over a teacher’s desk for a birthday!? You should go make one!
Shop this look:
Safari Animal Print Balloons via Oh Happy Day Shop
Two Tone Balloons via Oh Happy Day Shop
18″ Marble Balloon in Red via Oh Happy Day Shop
Mini Balloons in Peach Bellini via Shop Sweet Lulu
Balloon Time Helium Tank via Target
Balloon Decorating Strip via Amazon
*Thank you for supporting the sponsors, like Balloon time Helium Tanks, that let me keep doing what I do!


Great Tips! Thanks for sharing! It’s an amazing idea.