Donut Hole Tower
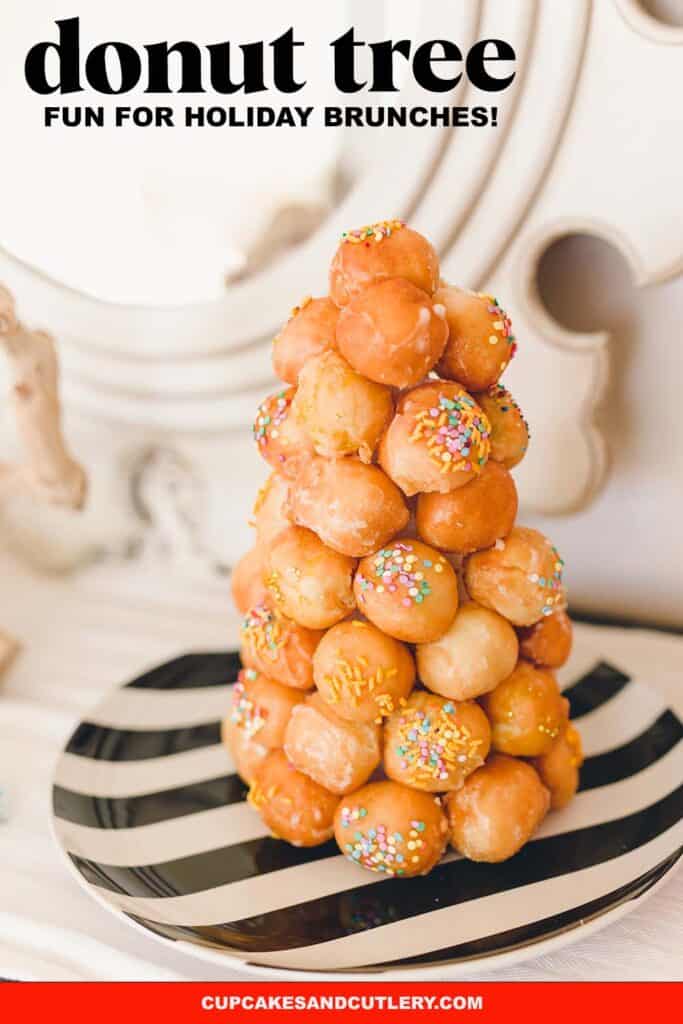
You need to make a Donut Hole Tower! If you need a show-stopping dessert that will put a smile on your kid’s face, this is it! This easy donut hole tree (that resembles croquembouche) is great for breakfast, brunch, and dessert tables and is perfect for the holidays! It’s a super sweet DIY!
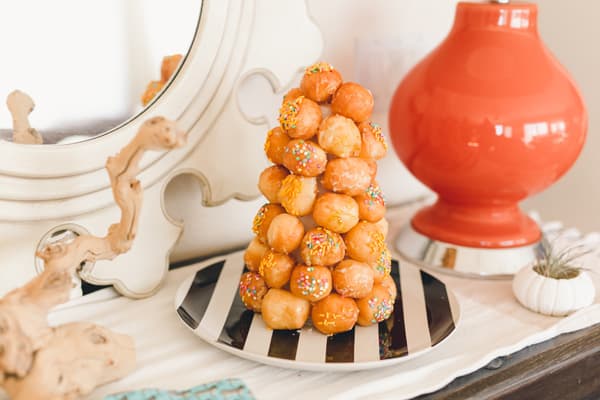
One of My Favorite Donut Tower Ideas
A donut tree is so easy. But they look so extra!
Do you guys love the idea of croquembouche? It’s a fancy dessert that I love seeing in wedding magazines and on the food channel. Traditionally it’s made with stacked homemade cream puffs and draped in spun sugar. They are gorgeous.
But I’m lazy. And to make a croquembouche from scratch would take way too much work.
By starting with donut holes, you get to focus on creating the donut tree instead of baking all day. And the donut croquembouche can be made ahead of time which is awesome for party planning.
Related post: Chocolate Pretzel Donuts
And colorful sprinkles take the place of hot, molten sugar that would, no doubt, cause 3rd-degree burns…
A DIY croquembouche tower is something that looks totally fun and different (which is how you can set your parties apart). But it’s also super easy to make.
I mean, who wouldn’t want a donut hole tower? You could even use holiday colors to make this look more like a Christmas tree.
I love entertaining and my favorite part is planning details that will create super fun memories for the guests.
One of the easiest ways to do that is to use things in creative ways. A Brownie Cake is simple but totally fun. Edible confetti adds the perfect pizzazz to a drink. And this donut tree is like, whoa.
Supplies
- Glazed Donut Holes
- Corn Syrup
- Variety of Sprinkles
- Styrofoam Cone
- Toothpicks
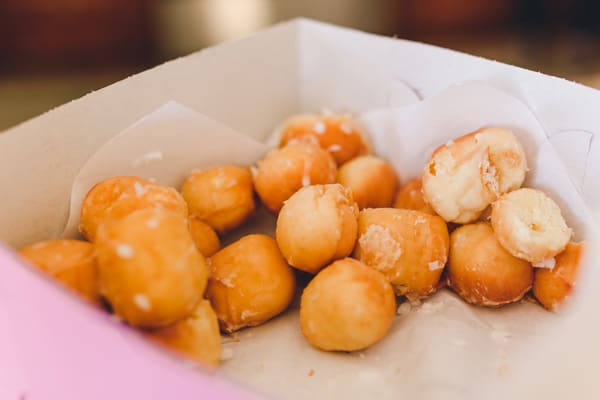
Sure, you can make your own donut holes, but that would take so much time! And to me, there is nothing better than a donut store donut hole.
I bought 4 dozen glazed donut holes because I knew I would need a lot for the tower. I also knew some were going to fall up into my mouth.
You could also buy a box of donut holes from the grocery store.
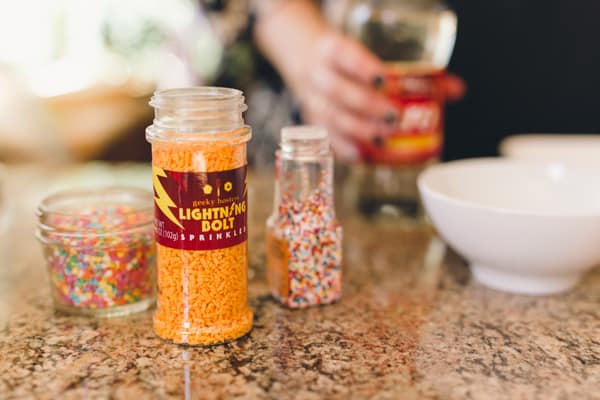
My favorite way to decorate my donut hole tower is with colorful sprinkles.
How fun are those lightning bolts?! Any sprinkles will work but the ones that are shiny and candy-coated, like those tiny colored balls, ended up having the color run a bit.
The sugar sprinkles seemed to work way better. You can also use holiday-themed sprinkles and make this for Christmas morning.
Or use lots of gold and make one on New Year’s Eve with the kids to eat the next morning.
And how cute to surprise your kids with on their birthday morning?! A donut hole tower is a perfect way to start the day.
How to Make a Donut Hole Tower

Decorate the Donuts
Since the donut hole glaze is already dried when you buy them, you need to get a way for the sprinkles to stick. Of course, you don’t have to use sprinkles but it sure does make it more fun.
Step 1
Paint a little bit of light corn syrup on with a paintbrush to make the donut surface tacky. (A paintbrush works really well because it helps you to spread a really thin layer so it doesn’t run.)
I tried dipping the donut and it was too much.
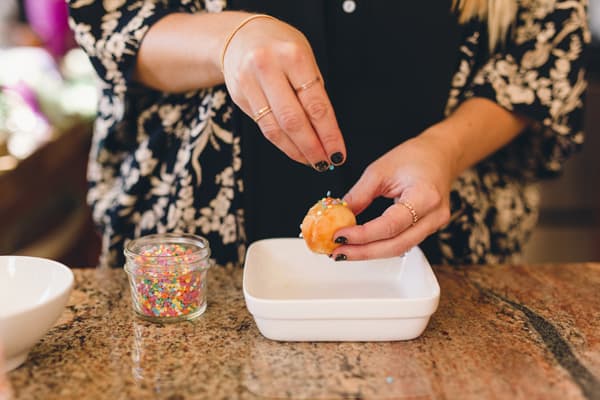
Step 2
Sprinkle the sticky area on the donut hole.
I did this over a small bowl to catch the run-off which keeps things tidy.
I used a mixture of plain and sprinkled donut holes for the tree.
I pre-sprinkled the donut holes the day before I put it together. It saved a bunch of time when it was time to put the donut tree together.
*Keep the donuts with sprinkles in an air-tight container on top of the refrigerator.
It’s probably the safest place to keep them so people won’t get snacky and try to eat them before you can put your tree together. Myself included.

Create the Donut Tower
Step 3
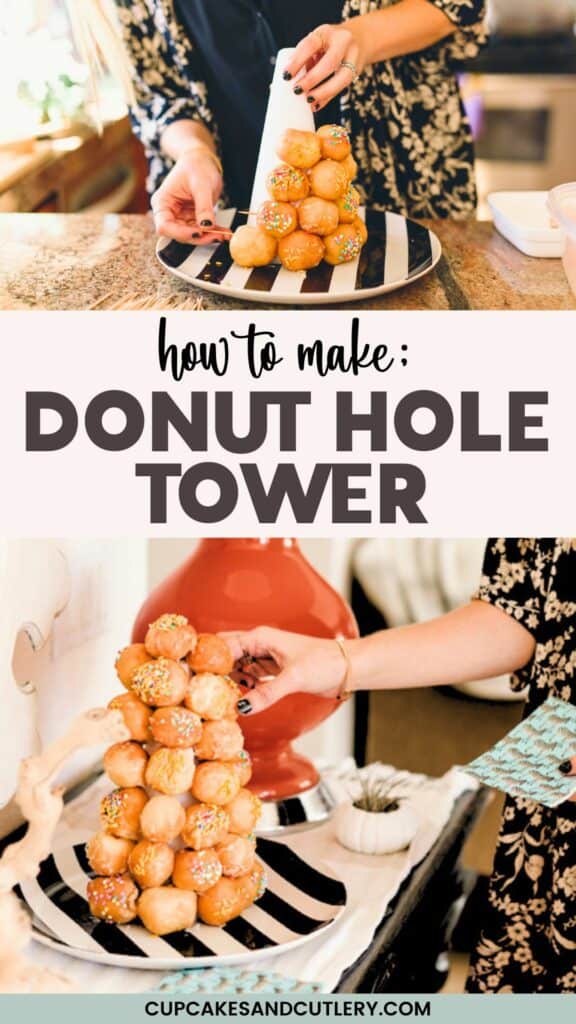
To build your tree, use a styrofoam tree form from the craft store.
Insert a toothpick and then stick the donut hole on the toothpick. I started at the bottom, now we’re here. Sorry. There are moments when a Drake lyric just makes sense.
Anyway, start at the bottom and work your way around the foam.

Try to get the donuts as close together as you can so you don’t see too much of the white showing through.
Step 4
Stagger the donut placement by offsetting the second row of donuts with the first row. And continue up the rest of the styrofoam base.
I am not the world’s best crafter. So if you can figure out a better way to make this DIY donut hole tower, do it! I’m an ideas girl. I have my strengths, but I also know my limits.
This easy dessert idea is great for people that are unskilled in the kitchen (raising my hand!).
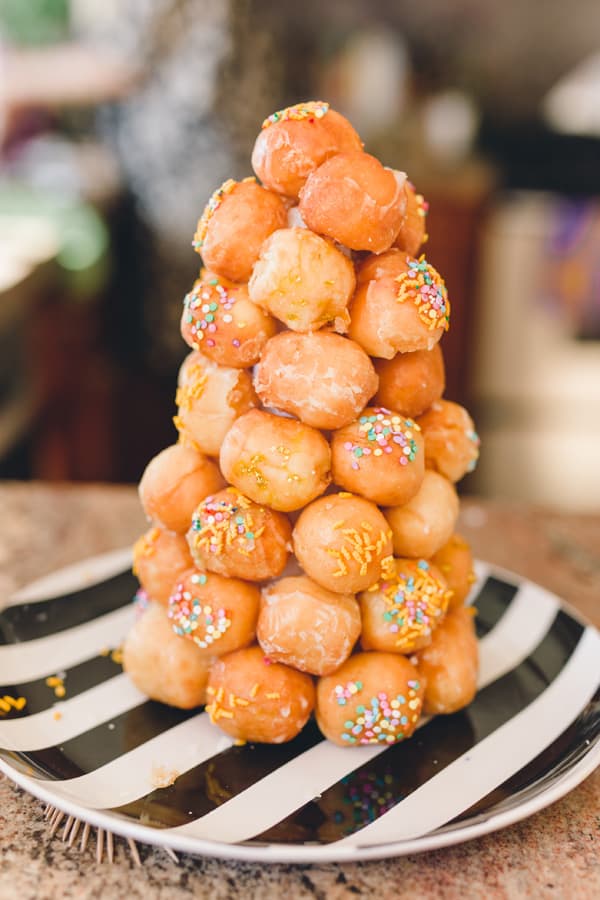
Display the Donut Tree
Put it on any cute platter and it’s party-ready.
If you want to make it look even more like a Christmas tree, you can add in small gummy candies to make it look like ornaments. Those sour cherry balls would look super cute.
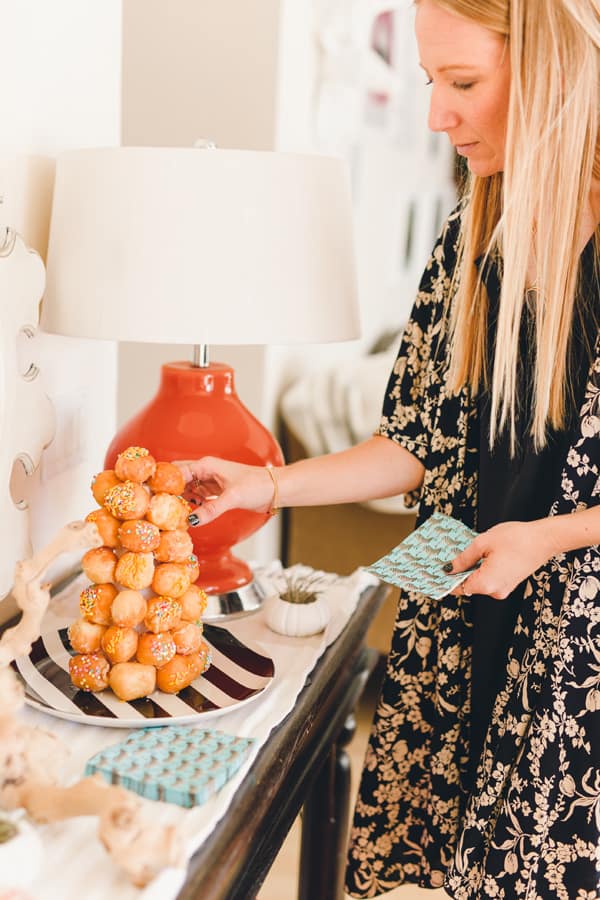
My kids pretty much attacked this donut croquembouche when I took it home. I’m certain your kids would do the same. It would be perfect at a kid’s birthday party.
It took some time to put it all together but I did it by myself.
This is totally an activity the kids can help you with and will help you get it done way quicker.
It’s perfect for baby showers, bridal showers, or any other special occasion.
Other decorating ideas
- Edible flowers
- Colorful Frosting
- Powdered Sugar
- Fresh fruit (tuck a few fresh berries in between the donut holes for some fun pops of color!)
- Create a ribbon cascade down the sides
- Dip some donut holes in candy melts – chocolate or other colors would add instant fun)
Tips
- If adding frosting, you can put the tree together first and then paint on the colorful frosting for a nice, finished look.
- Add a cake topper right to the top by sticking it into the donut hole and into the styrofoam form.
- To ensure the donuts don’t get any weird chemicals on them from the styrofoam, you can leave the plastic wrap on that is comes in (use a damp cloth to wipe down the outside) or wrap it in foil before you start adding the donuts.
- Longer toothpicks will work best. But you can make standard toothpicks work too.
- Add the toothpick to the styrofoam first, then add on the doughnut hole. (Can you believe some people spell it that way?)
- Try to put the donut holes as close together as possible to create as few gaps as possible.
Frequently Asked Questions
You’ll need 4-5 dozen donut store donut holes to make one tree. It will depend on the size of the tree form you are using. And also how many you will need to “test” as you are making it.
A donut wall is a fun idea where you hang regular donuts on a peg attached to a wall. It won’t work as well with donut holes. You can create a wooden stand to hang them off of. Or you can layer them, laying down, on a cake stand and mimic the shape of a traditional cake. My favorite way, though, is this donut hole tower.
More fun party desserts
- Need a cake topper? Use cookies! These Macarons with edible ink are a fun way to create an edible message.
- You need to bake a Pie Inside a Cake right now! It’s 2 desserts in one and everyone will freak out when you cut into it.
- A new way to serve brownies! Make a layered Brownie Cake. You can use boxed mixes but this is a more unique way to serve brownies.
- A pinata cake is cake and candy in one surprise treat!
- 2-Ingredient Soda Cake is delicious and fun to make with the kids.

Donut Hole Tree
Equipment
- Toothpicks
- Styrofoam Cone
- small pain brush
Ingredients
- 48 donut holes
- variety of sprinkles
- corn syrup
Instructions
- Working one at a time, use a small paintbrush to paint a little bit of corn syrup on the front of the donut hole then dip the wet area into a bowl of sprinkles (or sprinkle them on by hand). Set it aside and decorate the rest of the donut holes.
- Place the styrofoam tree shape on the middle of a plate.
- Pierce the donut hole with a toothpick then stick the other end of the toothpick into the bottom of the styrofoam.
- Add a second donut hole and toothpick to the cone as close to the first one as you can. Complete the first row.
- For the second row, place the toothpick and donut hole just above where two donut holes in the first row meet. I like to offset the donut holes between the rows.
- Continue up to the top of the form.
- Add any additional decorations as needed.


