Peppermint Marble Cookies Recipe for Christmas
This Peppermint Marble Cookies recipe makes soft, chewy, and decadent cookies with a delightful hint of peppermint. It’s the perfect treat for Christmas! Dunk them in cold milk or chocolate for a festive dessert to share with friends and family.

Why You’ll Love These Marble Cookies
Marble cookies are rad because you get a peppermint cookie and a chocolate cookie all in one. And this peppermint version is festive and makes it perfect for any holiday party.
Although you make two different batters, it doesn’t add much time. By not fully mixing them you get a unique look and two flavorful cookie doughs in one deliciously balanced bite.
Related post: Holiday Chocolate Cake Mix Cookies with M&Ms
Plus, the crushed peppermint adds a delightful crunch.
Don’t get intimidated by the long list of ingredients and steps for making these chocolate marble cookies. The end result is worth it! If you’re like me, you may spend a little bit more time in the kitchen during the holidays to get that memory-making treat!
These cookies would perfectly with one of these Christmas Coffee Drinks.
Don’t have time to bake from scratch?
Make these Elf on the Shelf Peppermint Cookies instead!
Ingredients
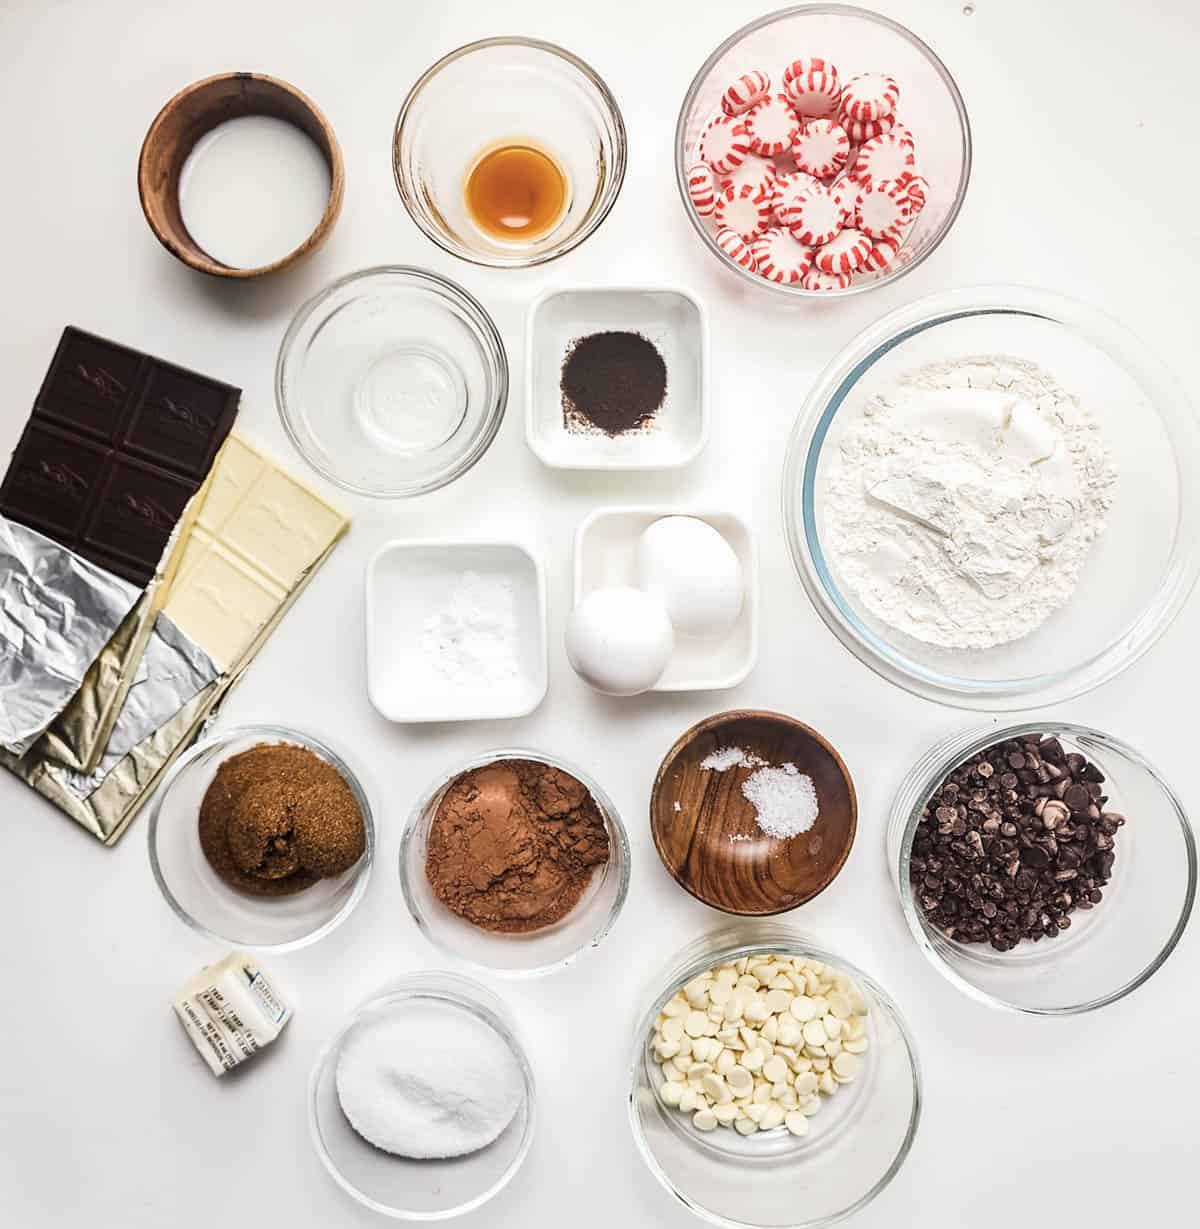
- All-purpose flour
- Cocoa powder
- Espresso powder
- Baking powder
- Salt
- Semisweet chocolate chips
- White chocolate chips
- Unsalted butter
- Vanilla extract
- Peppermint extract
- White sugar
- Brown sugar
- Eggs
- Milk
- Candy Canes or peppermint candies, crushed, for decorating
- Chocolate and White Chocolate Bars for decorating
Want to know the secret to super chocolatey cookies? It’s the espresso powder! It doesn’t overpower the chocolate but it pumps it up.
For the cocoa powder, I recommend using Dutch-processed. It has an intense chocolate flavor and will give your cookies a deep brown color. But you can use whatever you already have on hand.
You can use fancy chocolate chips or whatever you can find from the grocery store.
And while the recipe calls for unsalted butter, I truthfully can’t tell the difference so you can use salted if that is what you have on hand.
The other ingredients are pretty straight forward and typical to making cookies.
While I think the shaved chocolate and crushed peppermint candies look good on the top of the cookies and make them party-ready.
See the printable recipe card for quantities and full recipe.
Instructions
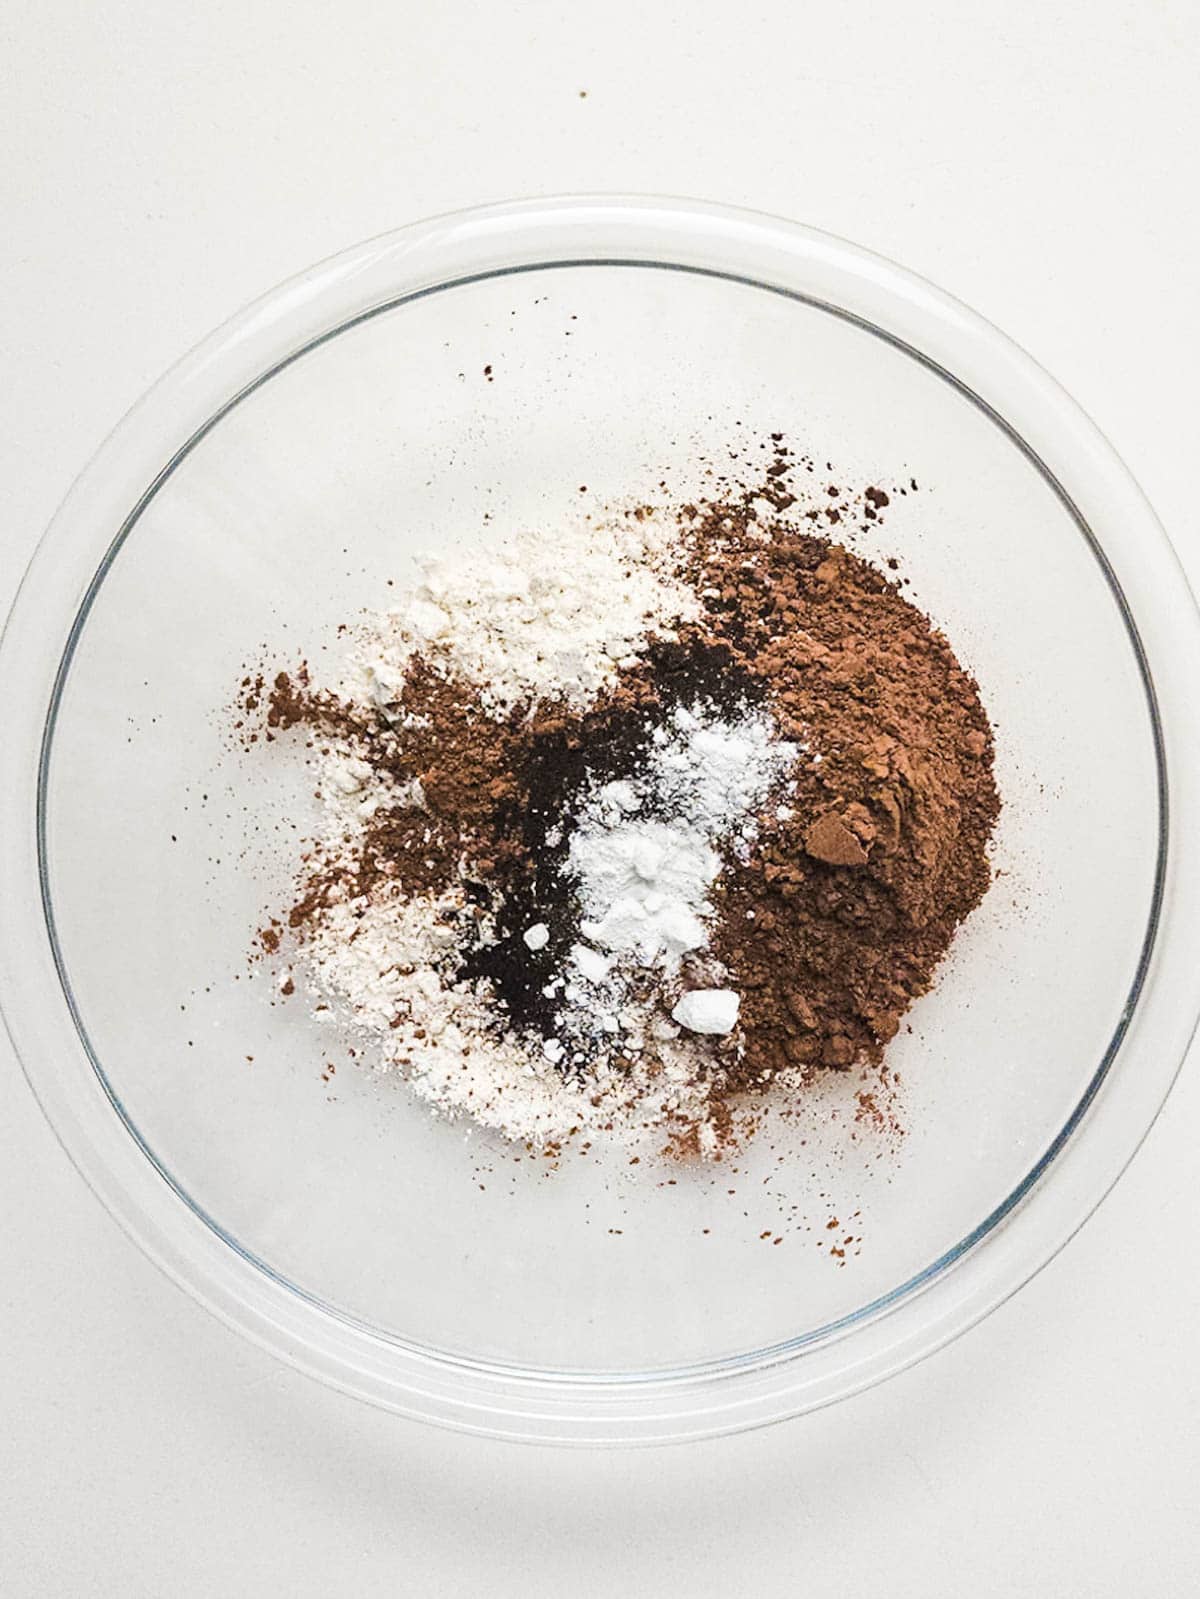
Step 1
In a bowl whisk the flour, cocoa powder, espresso powder, baking powder and salt for the chocolate cookie dough first. Whisk until combined and set aside.
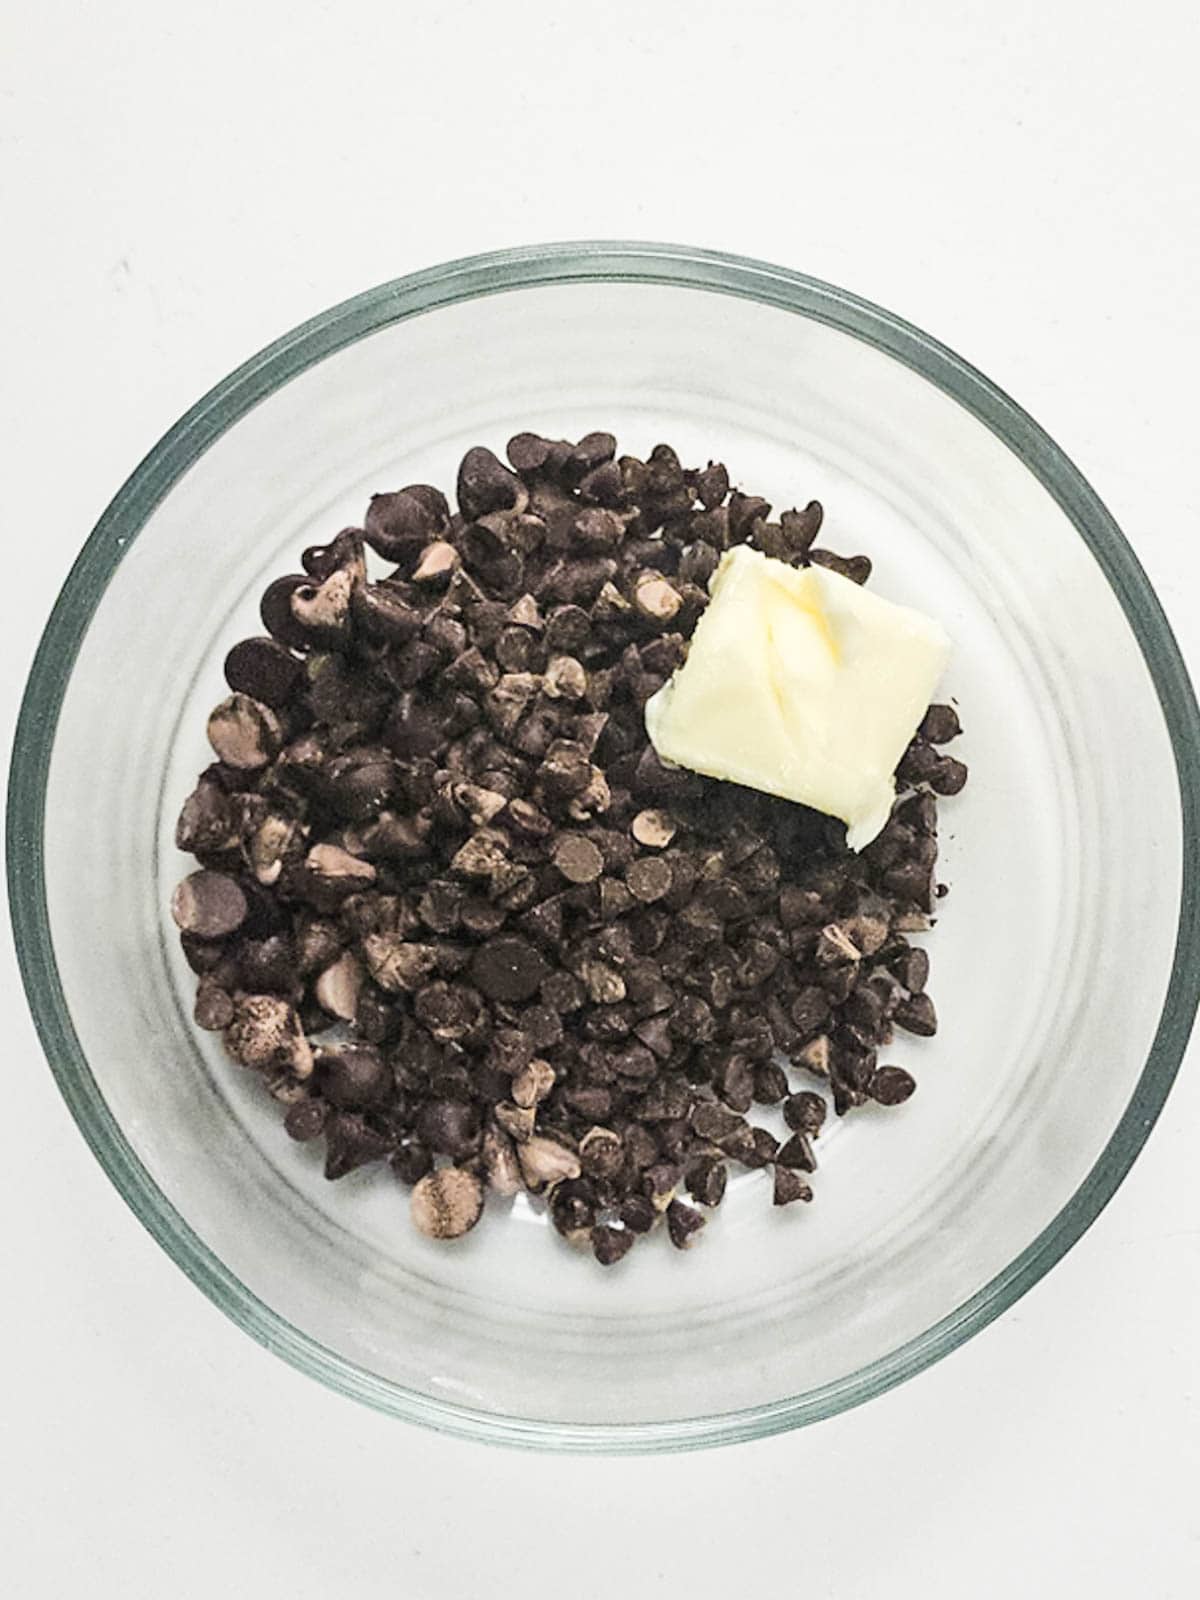
Step 2
In a small bowl add the semi-sweet chocolate chips and butter. Microwave at 30 second intervals, stirring in between until fully melted.
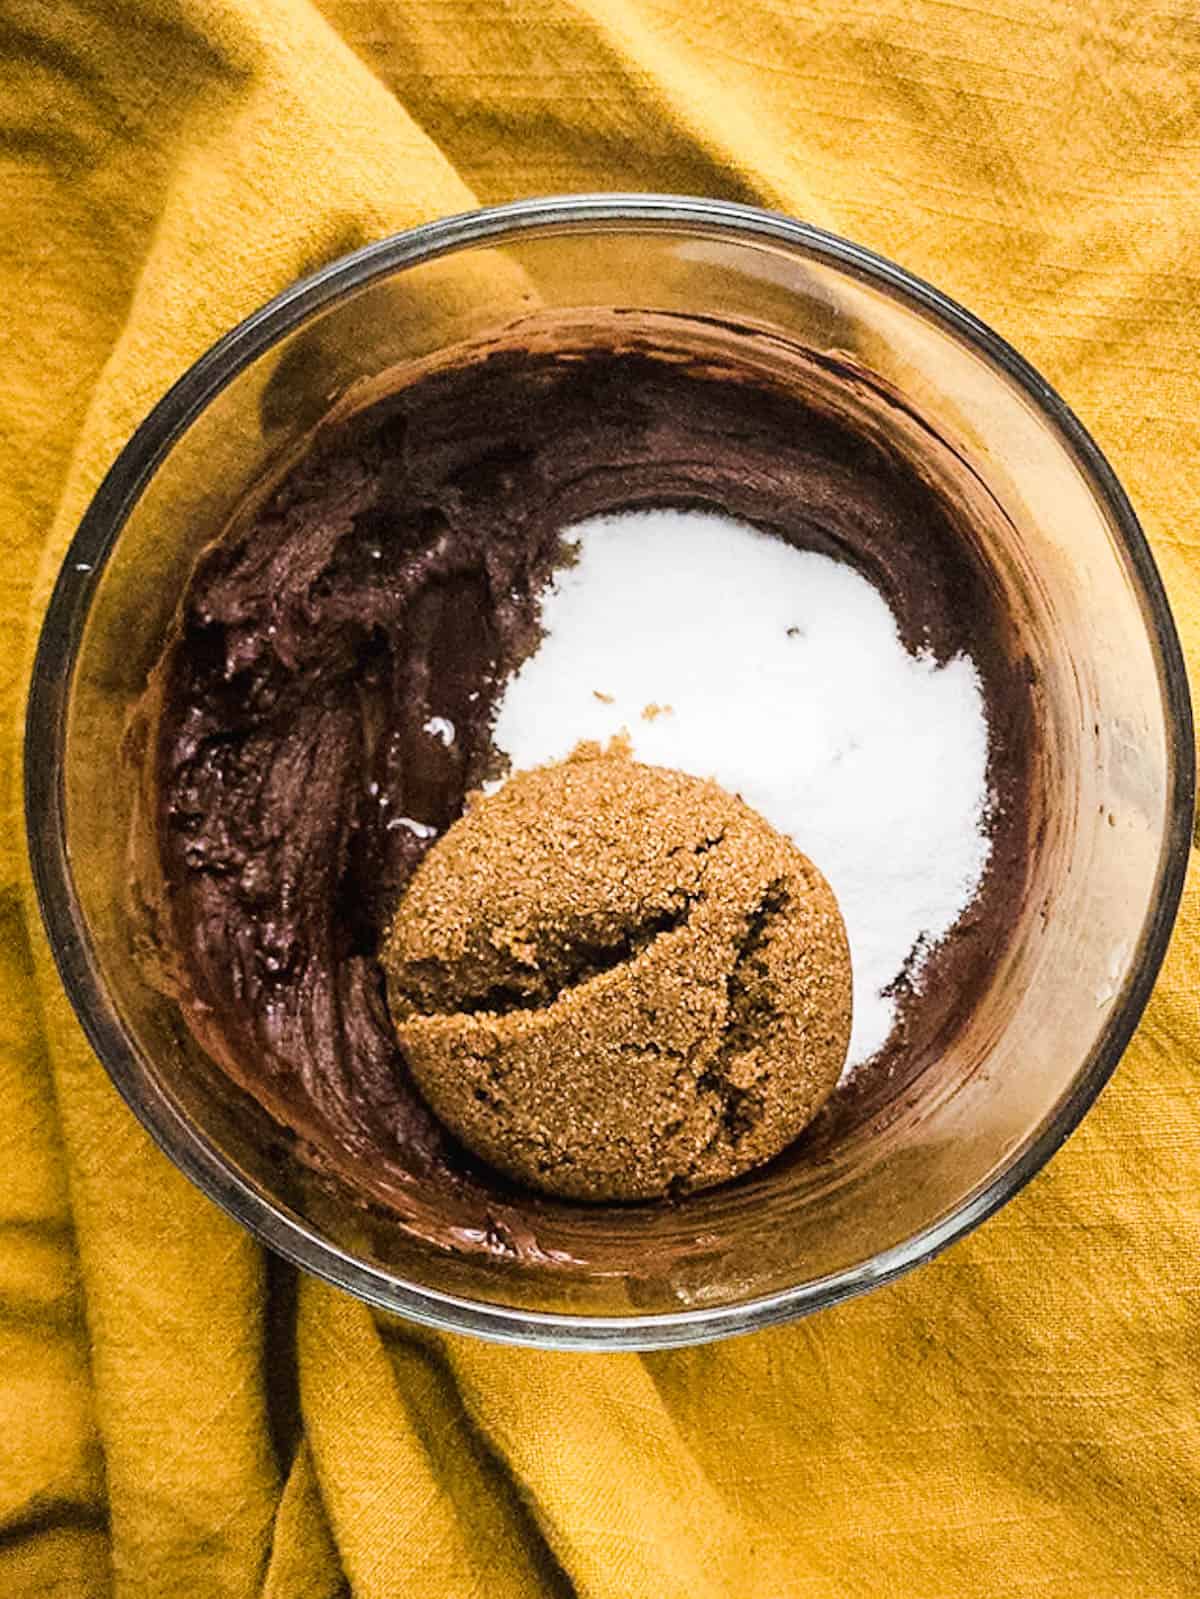
Step 3
Add the vanilla, sugar and brown sugar to the bowl of melted chocolate chips and butter and mix until combined.
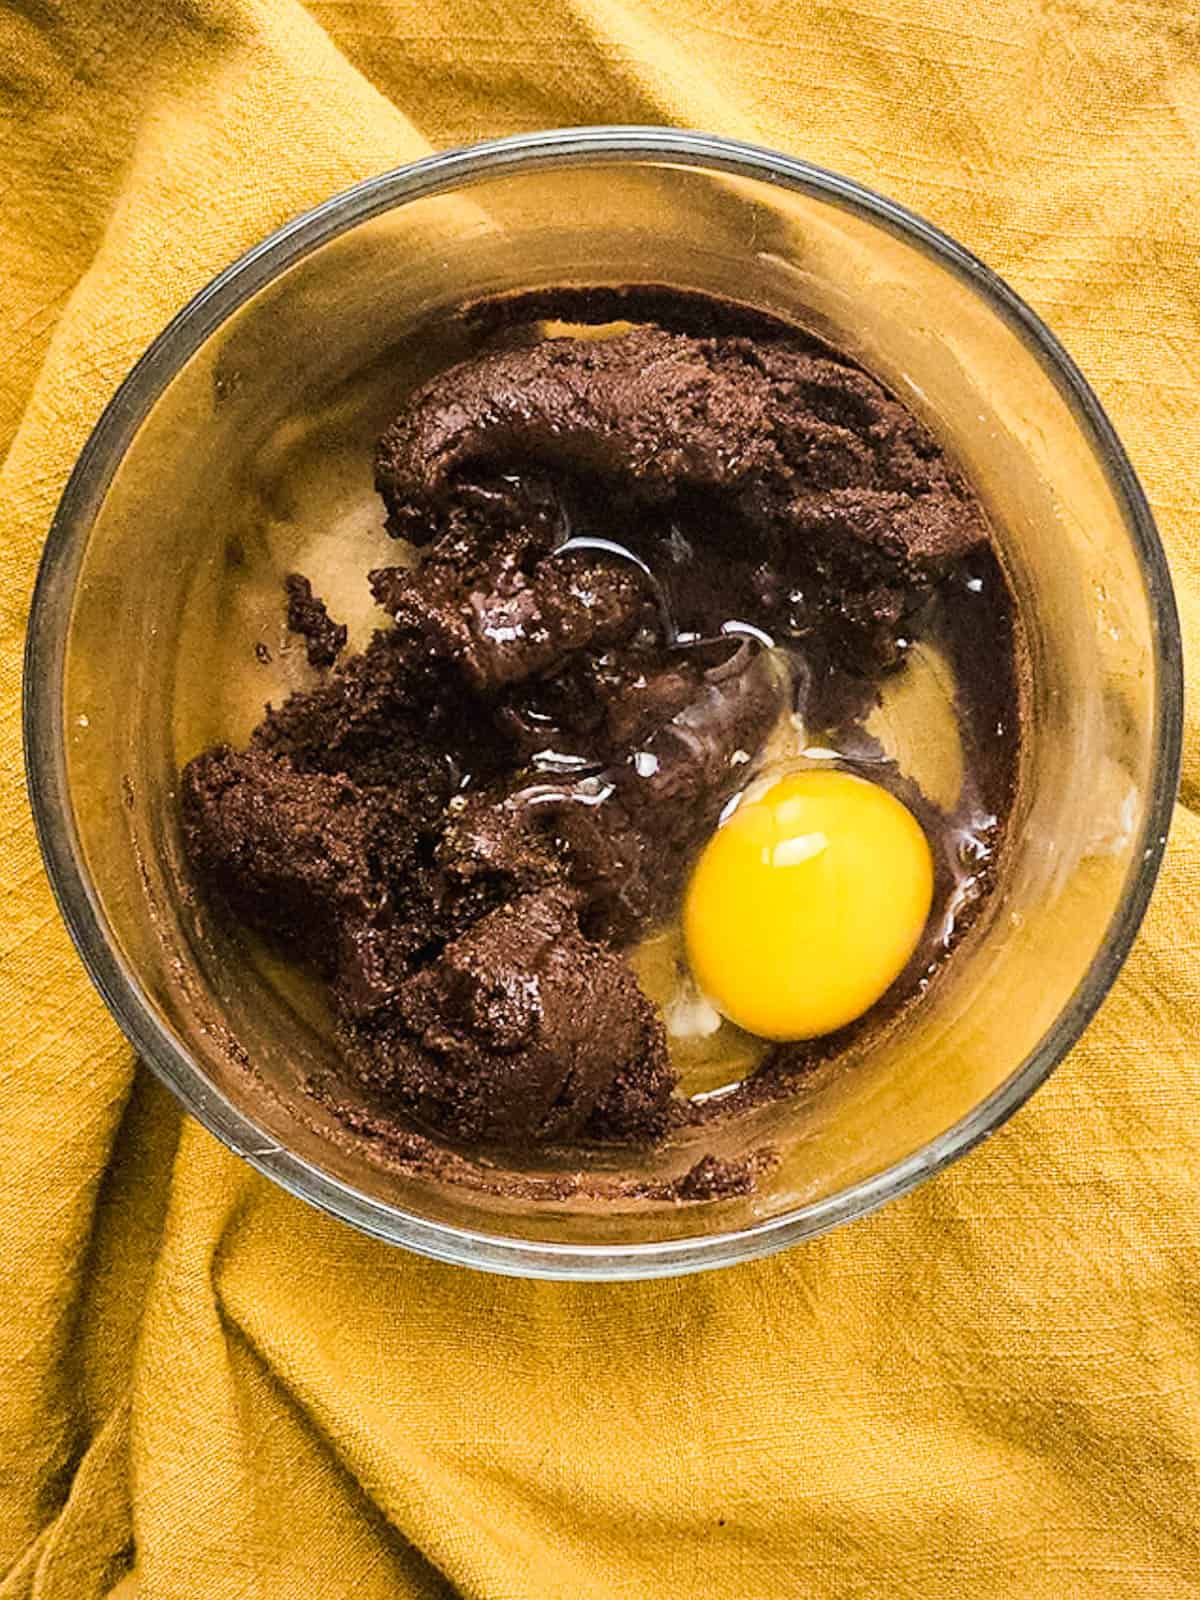
Step 4
Crack in the egg and add the milk and mix once more until smooth.
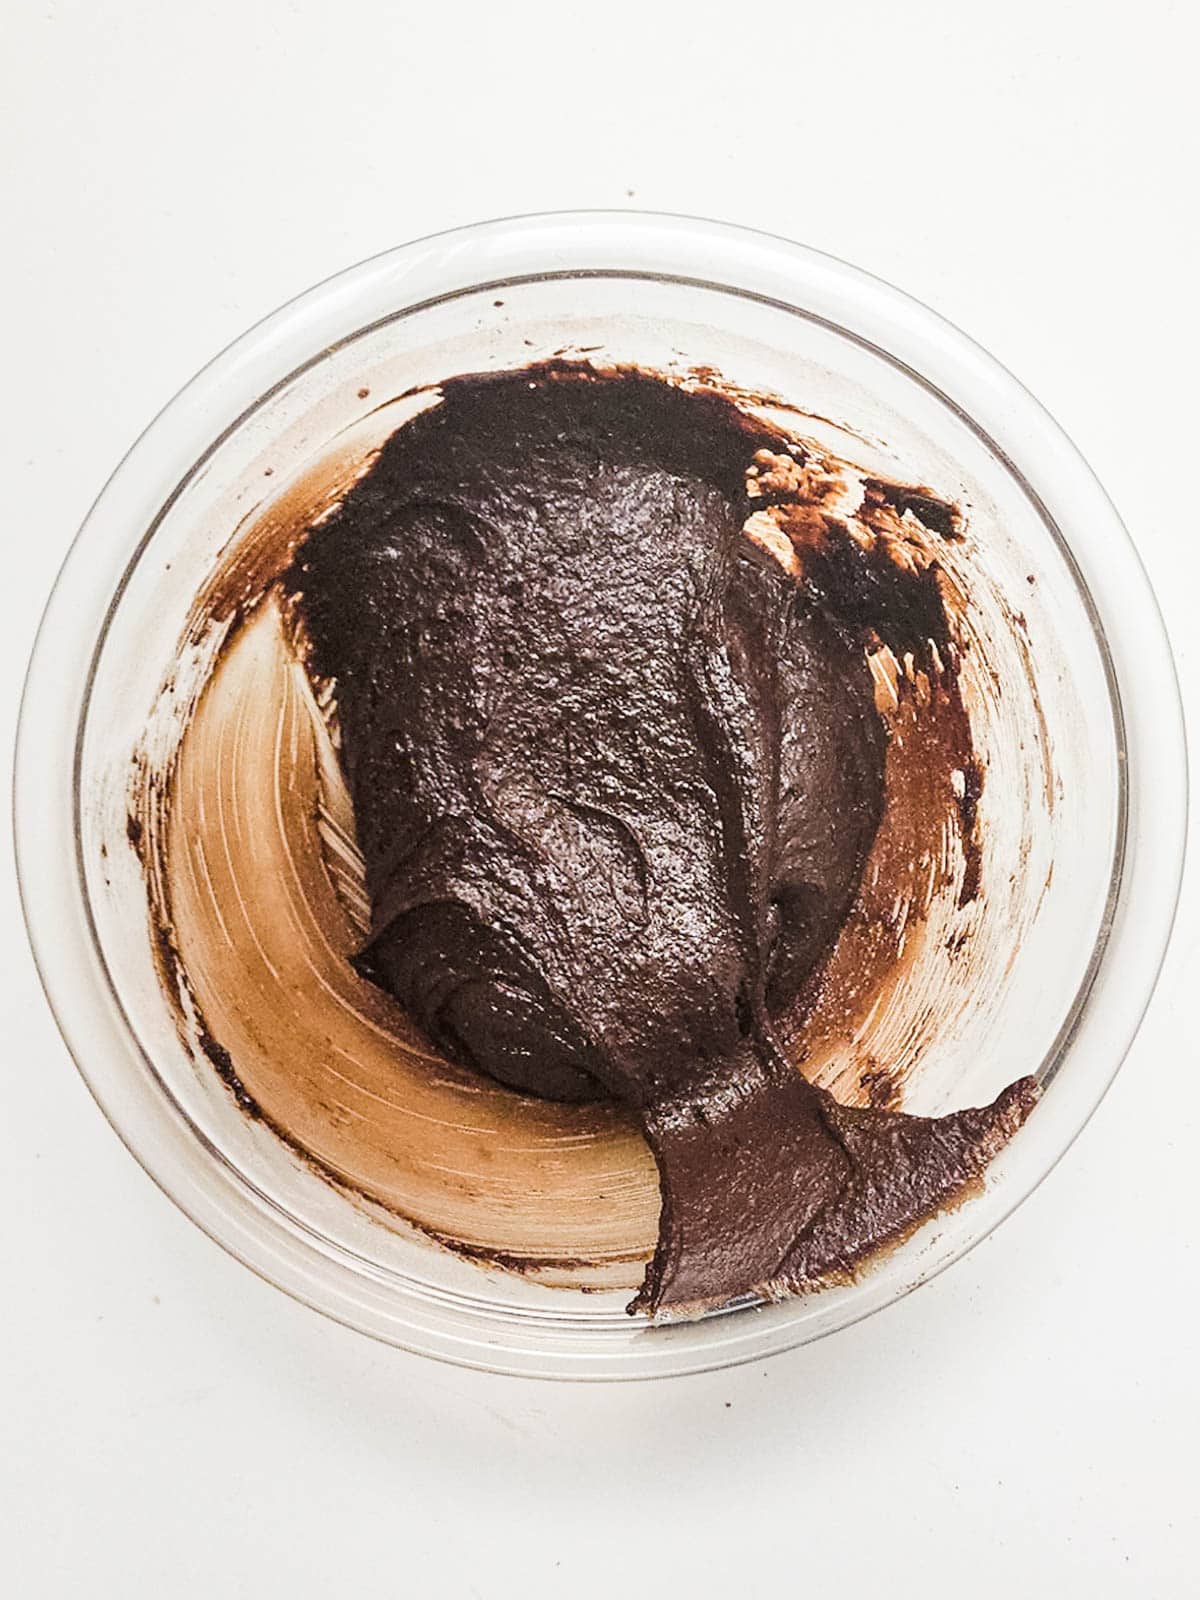
Step 5
Pour the wet ingredients into the dry ingredients that you set aside earlier. Fold everything together until a thick chocolate batter is formed.
Cover in plastic wrap and refrigerate.
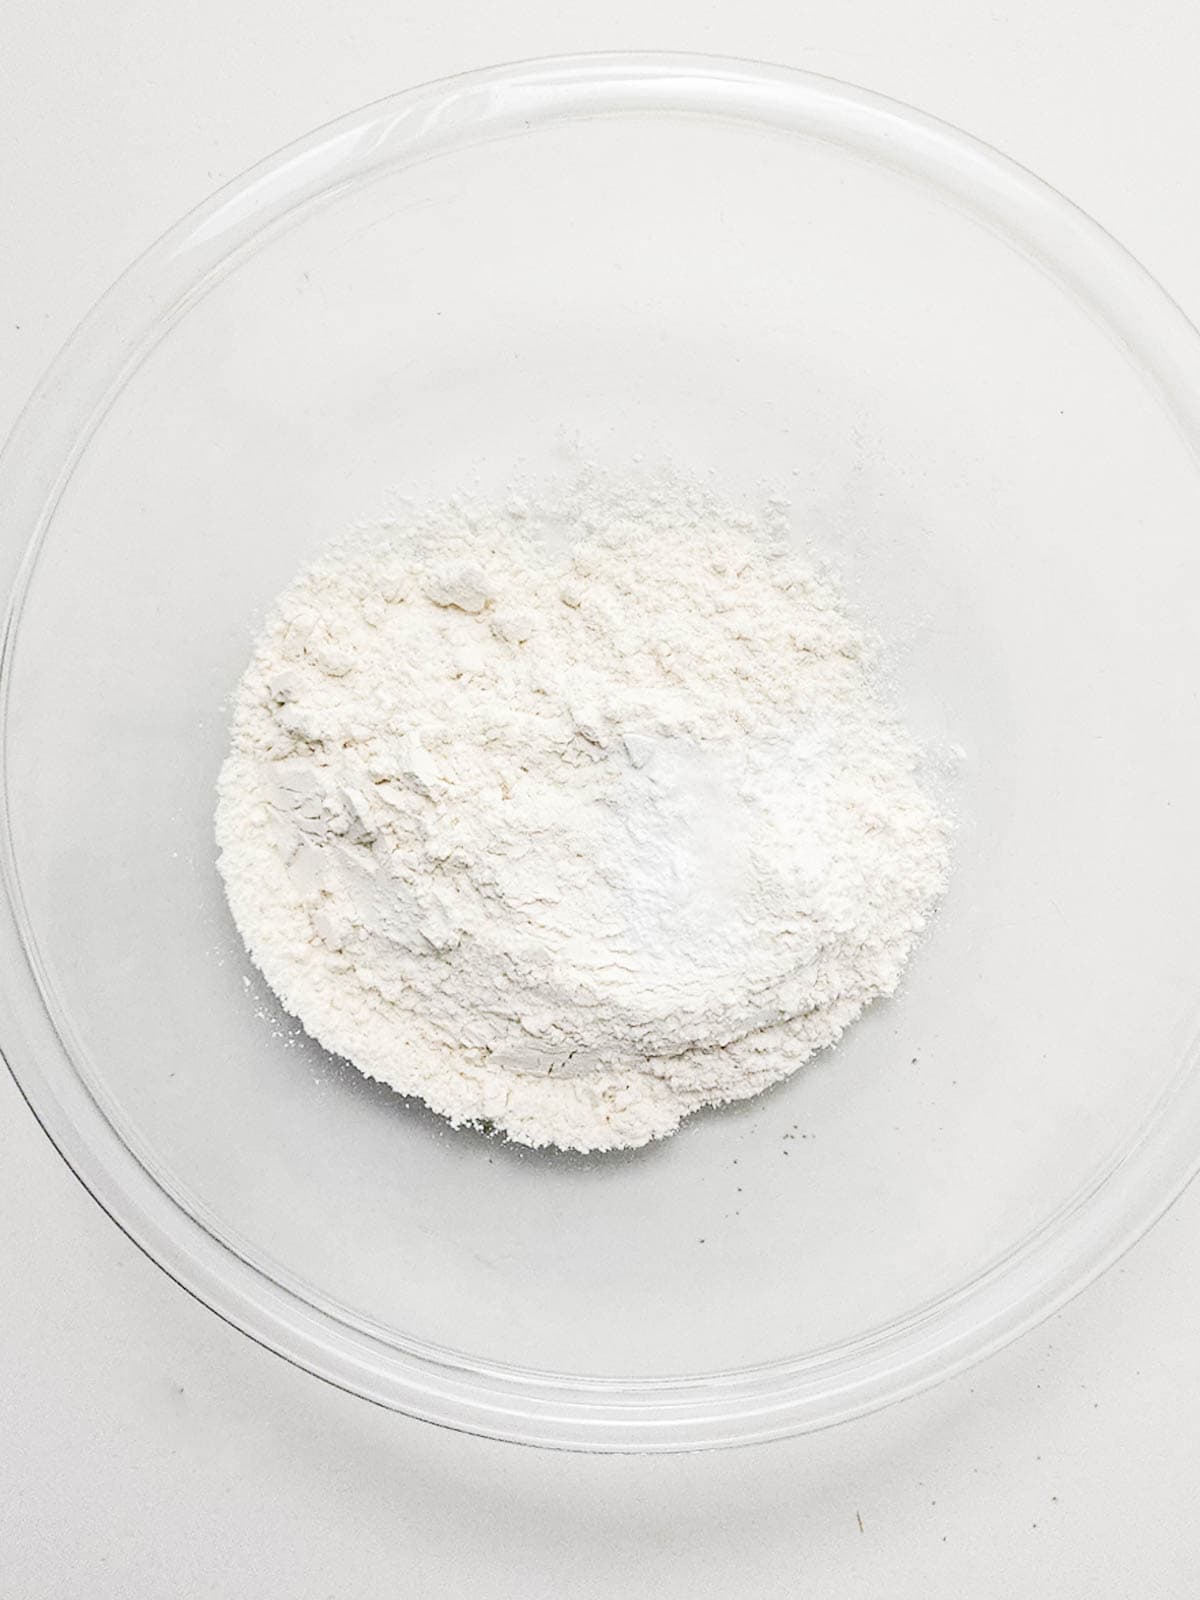
Now you’ll repeat the process to make the peppermint cookie dough.
Step 6
In another clean bowl, add the dry ingredients of flour, baking powder and salt and whisk together until combined. Set aside.
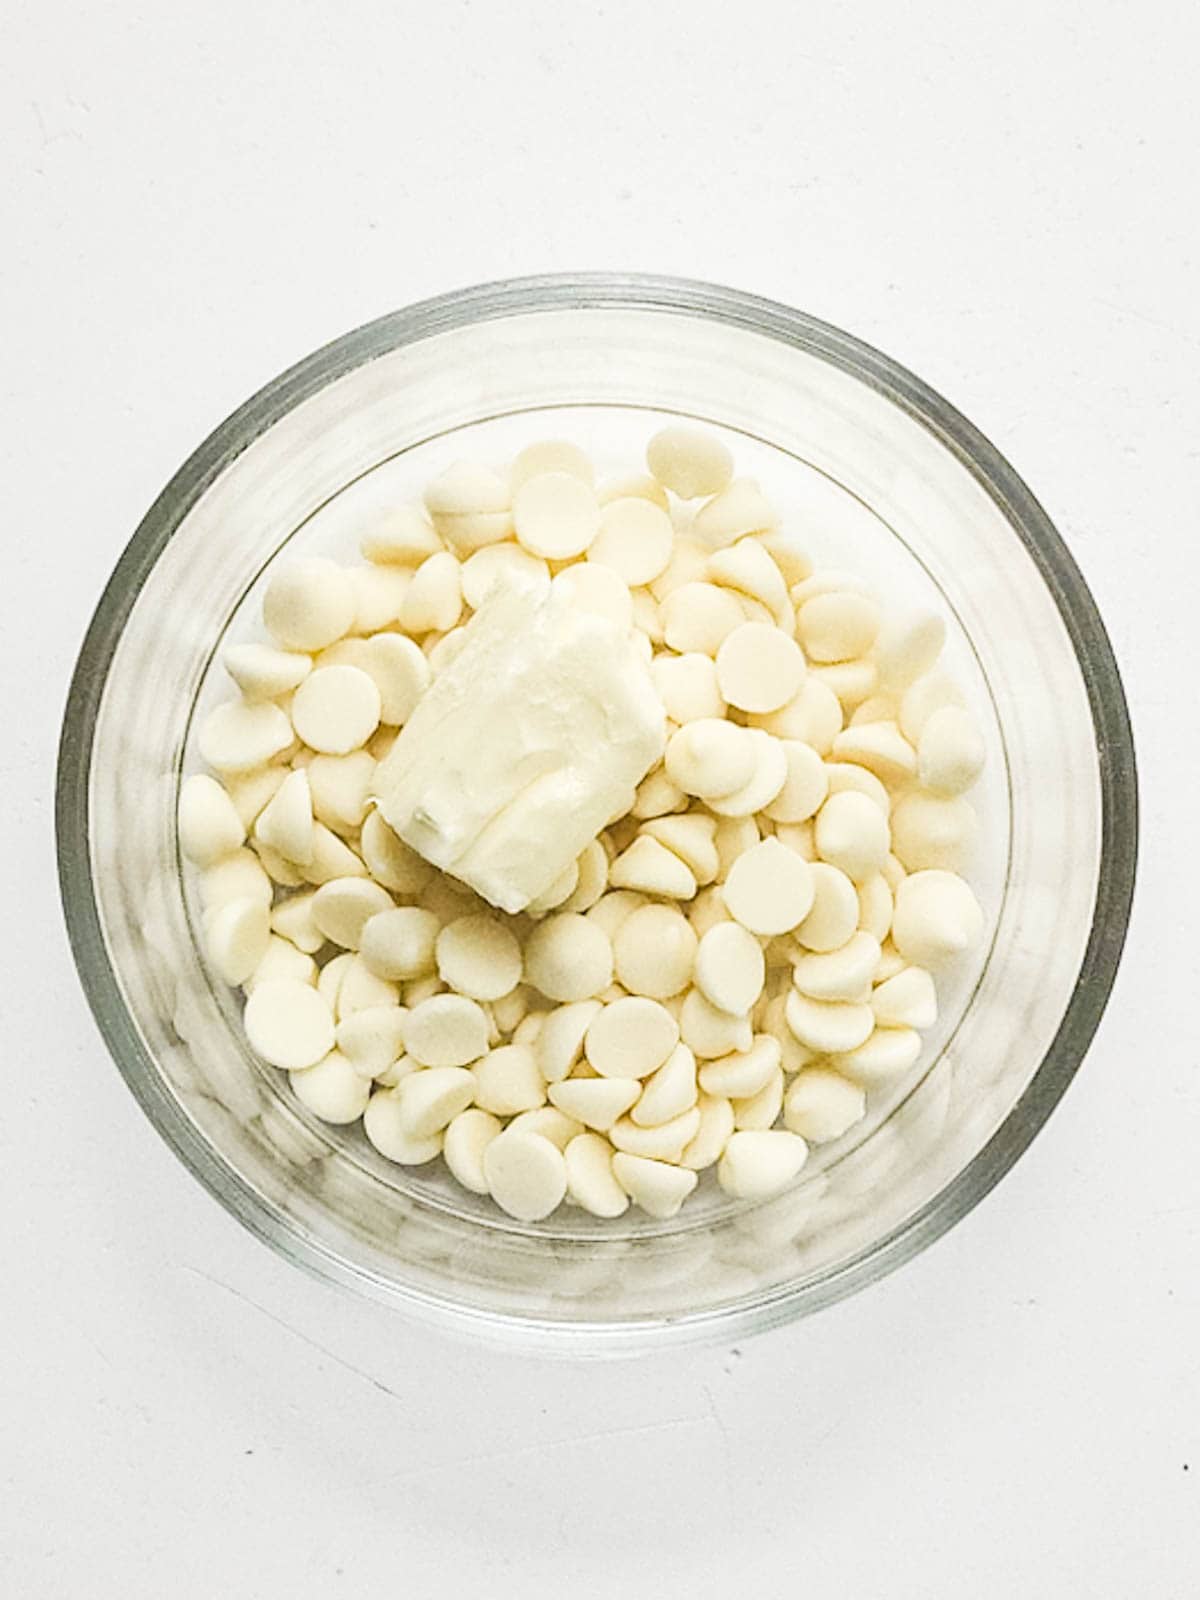
Step 7
In a small bowl add the white chocolate chips and butter, microwaving at 30 second intervals until melted, stirring in between.
Step 8
Add the sugars to the white chocolate and mix until combined. If the chocolate mixture is a bit thick and clumpy don’t worry, it will thin out with the egg and milk addition.
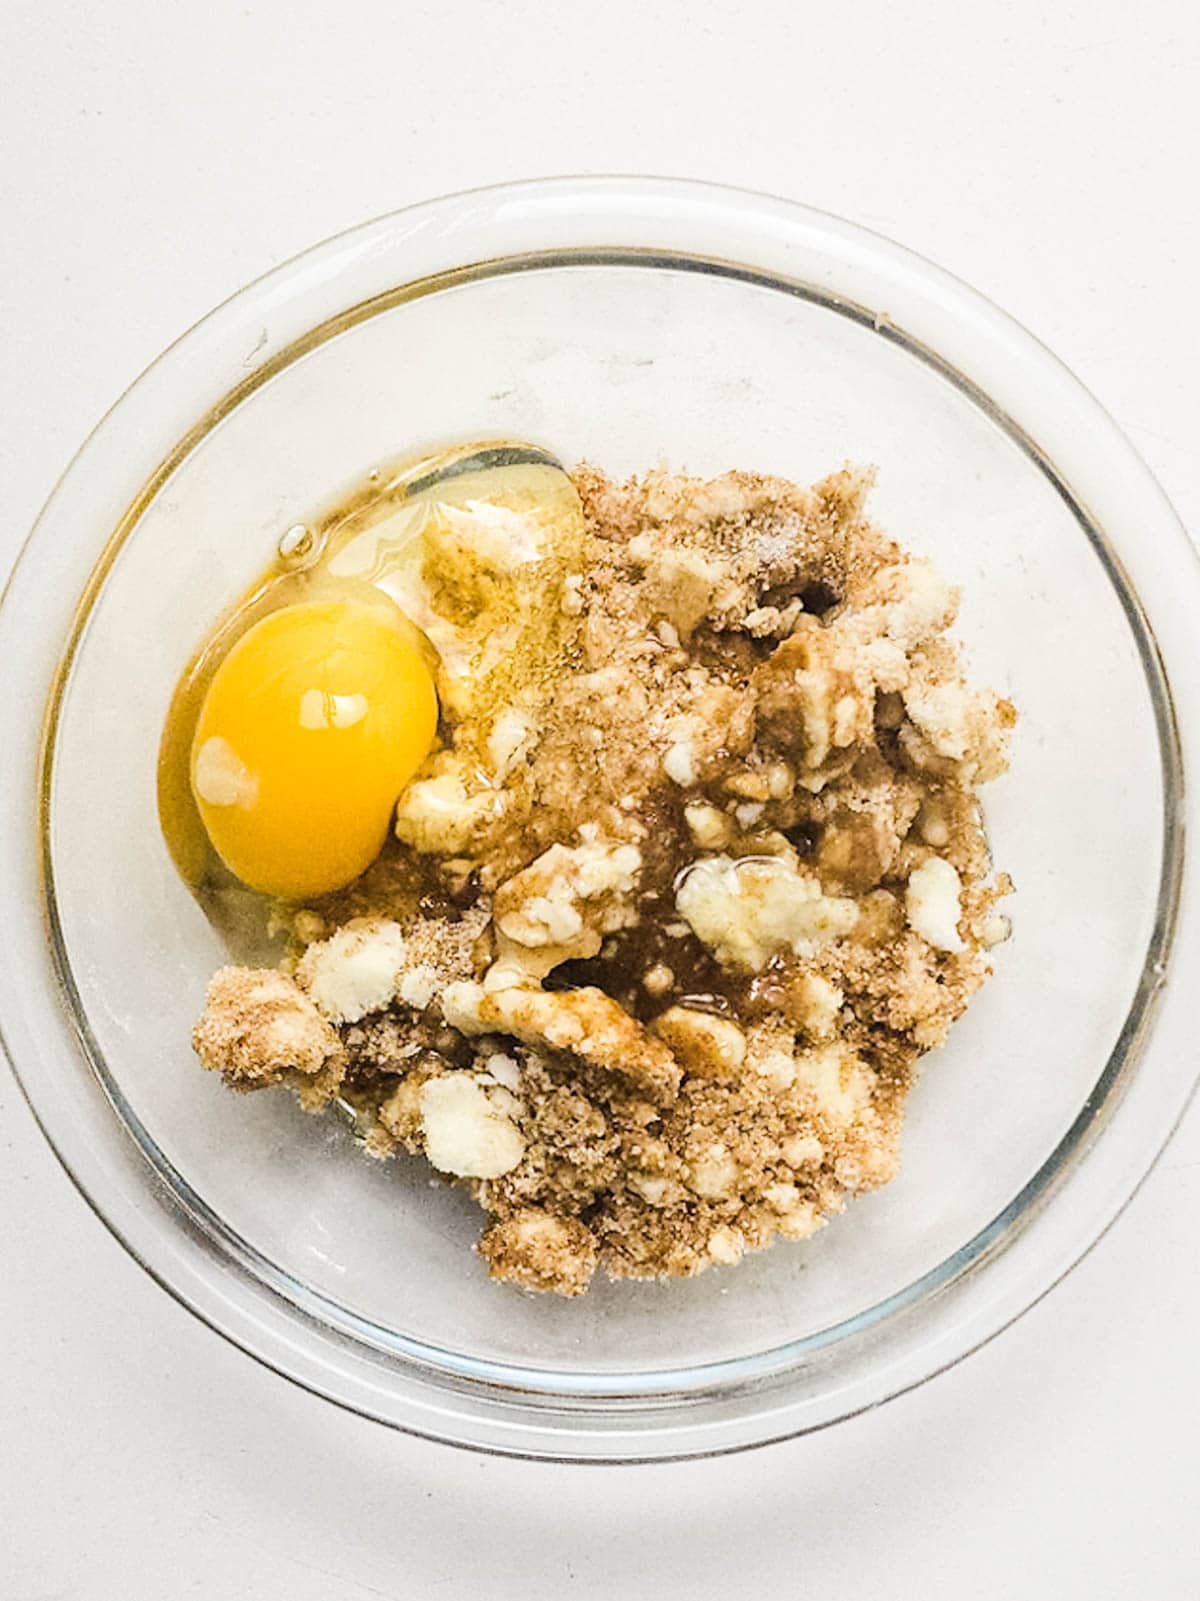
Step 9
Add the egg, peppermint extract and milk to the white chocolate mixture and mix until no more clumps exist, and you have a smooth batter.
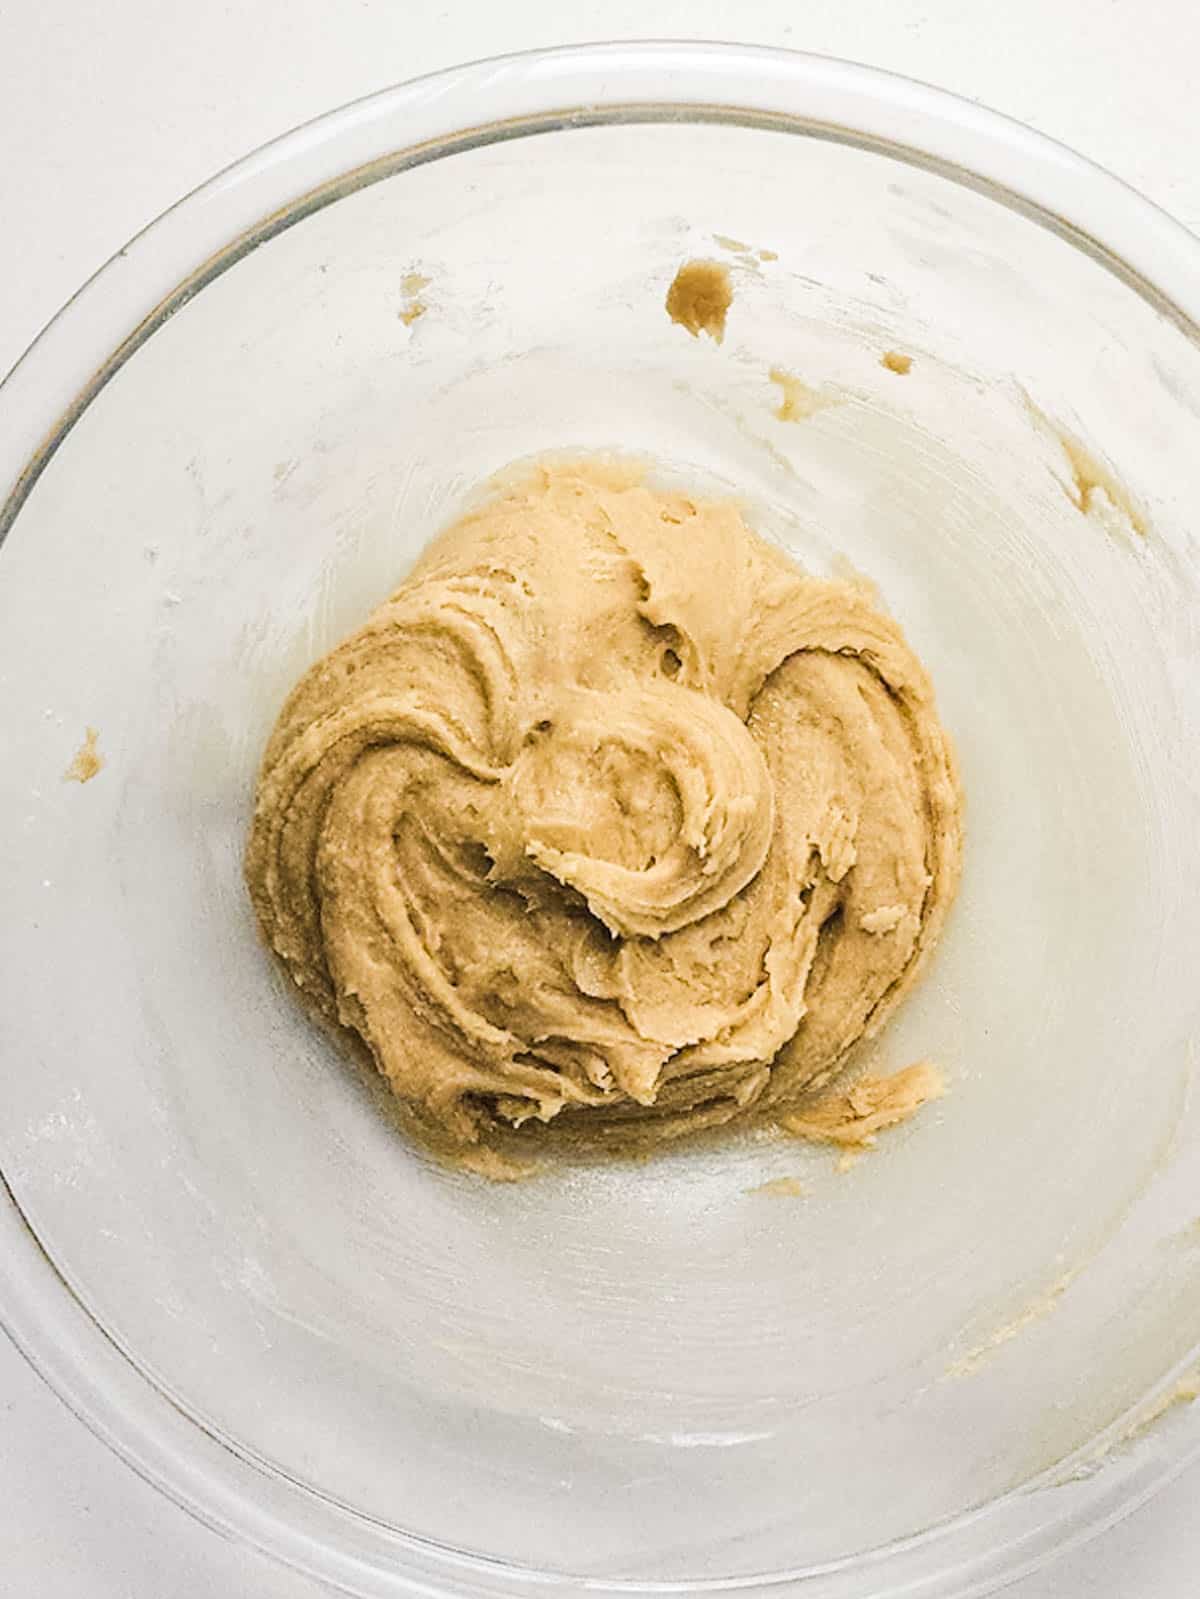
Step 10
Pour this into the dry ingredients. Fold together until combined and a thick batter has formed.
Cover with plastic wrap and refrigerate for 30 minutes.
Step 11
Preheat the oven to 350 degrees Fahrenheit and prepare a baking sheet with parchment paper.
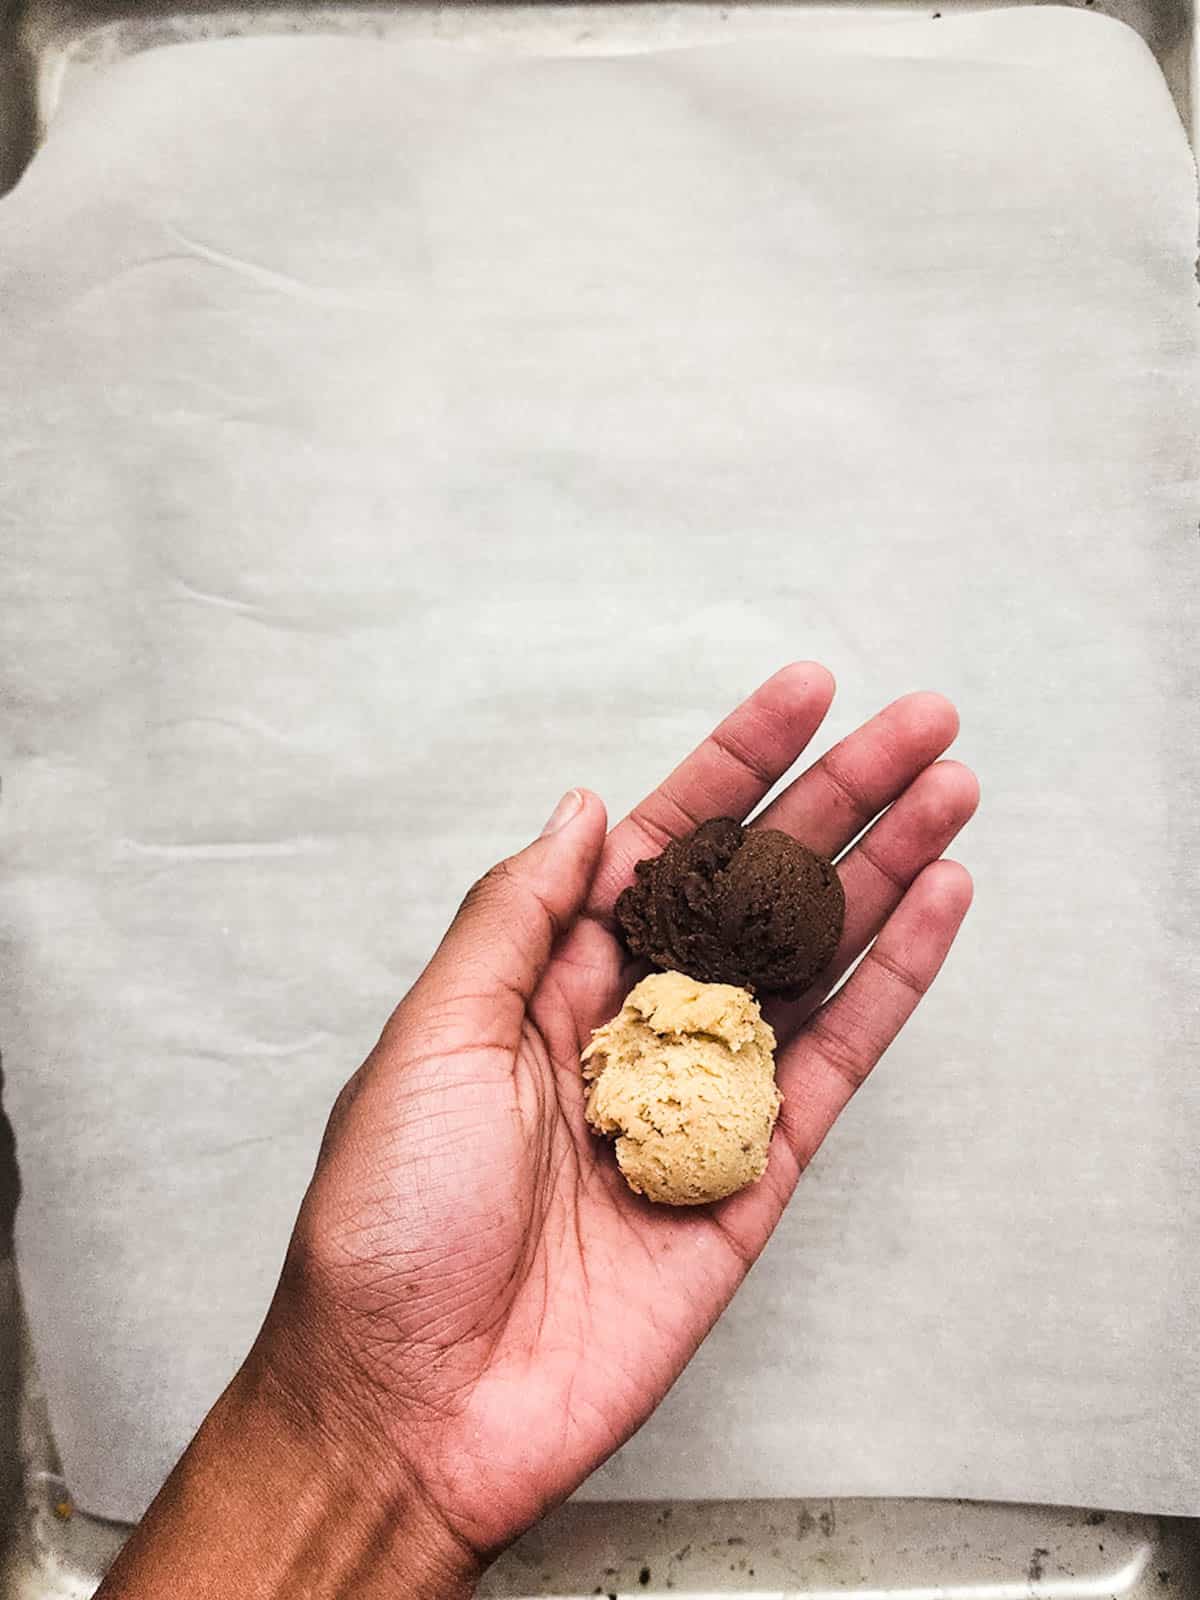
Step 12
Remove the cookie dough from the fridge and use a small scooper to scoop about a 1-inch round of the chocolate dough and 1 inch round of the peppermint dough.
Place both in your hand and press together to form a ball. Roll in your hands to help the two doughs combine and create a marble look.
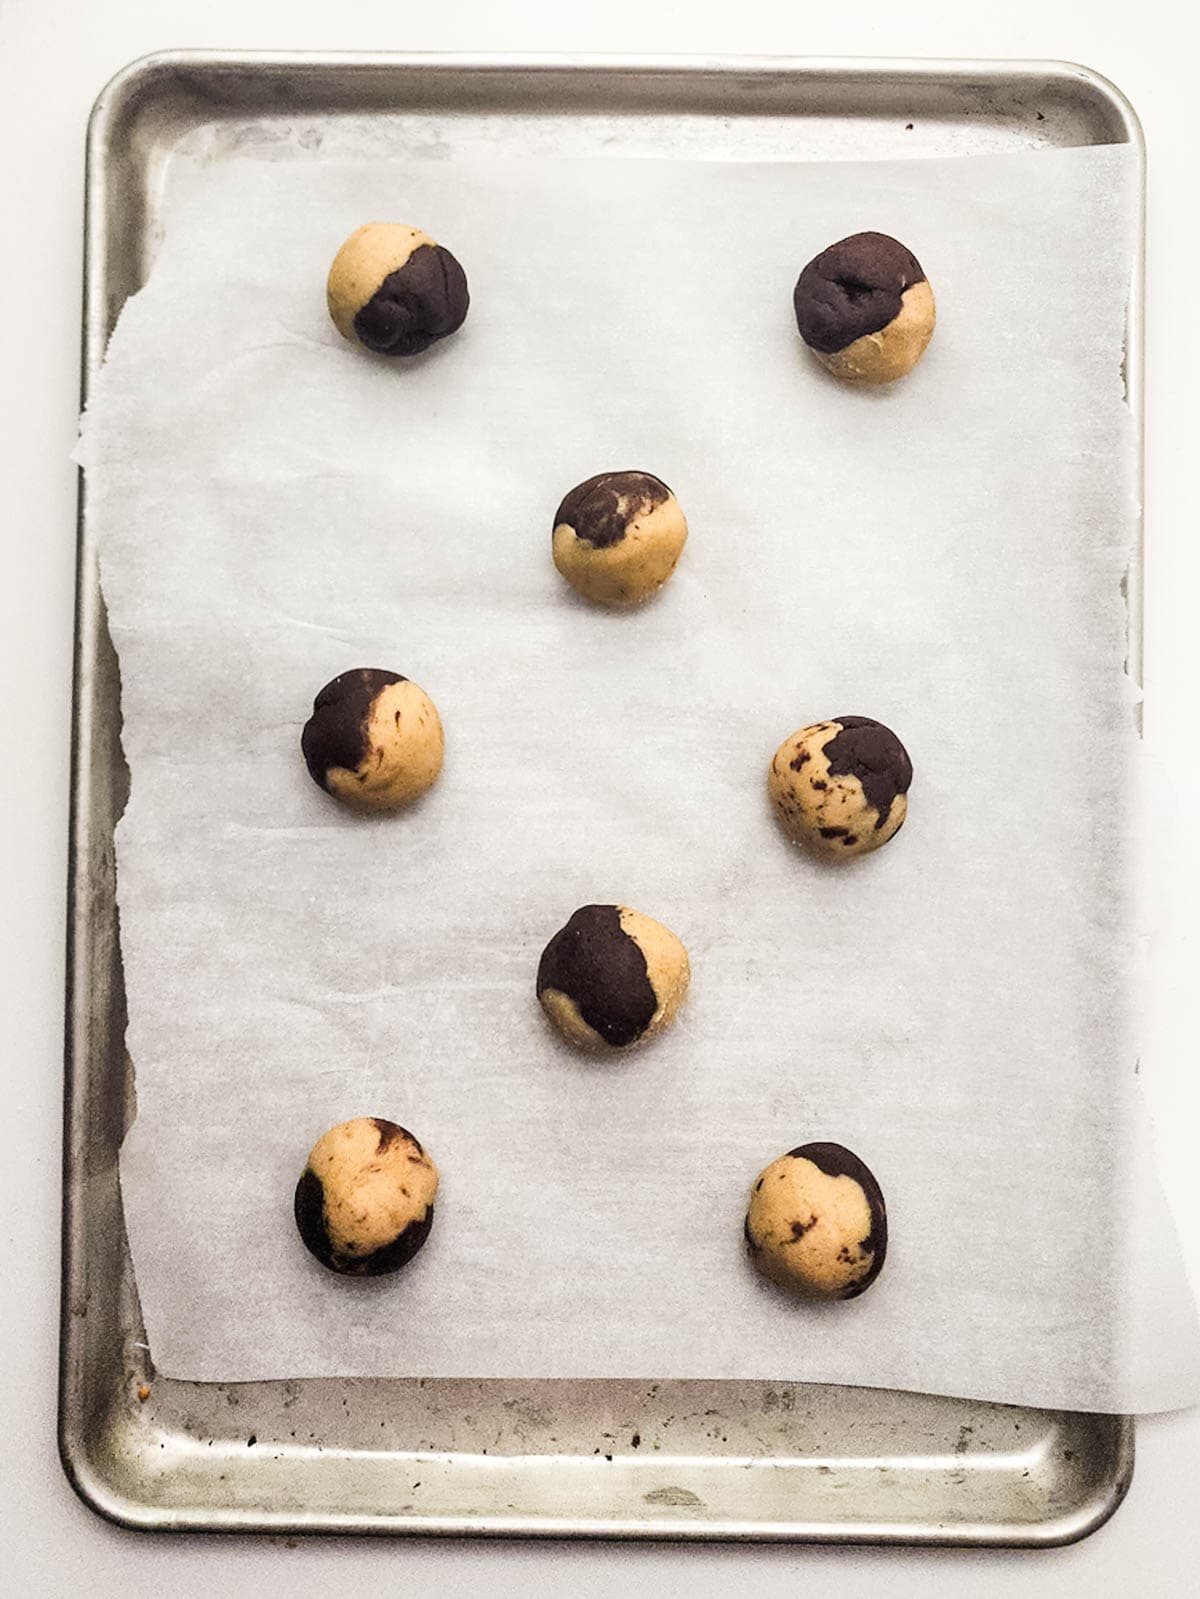
Step 13
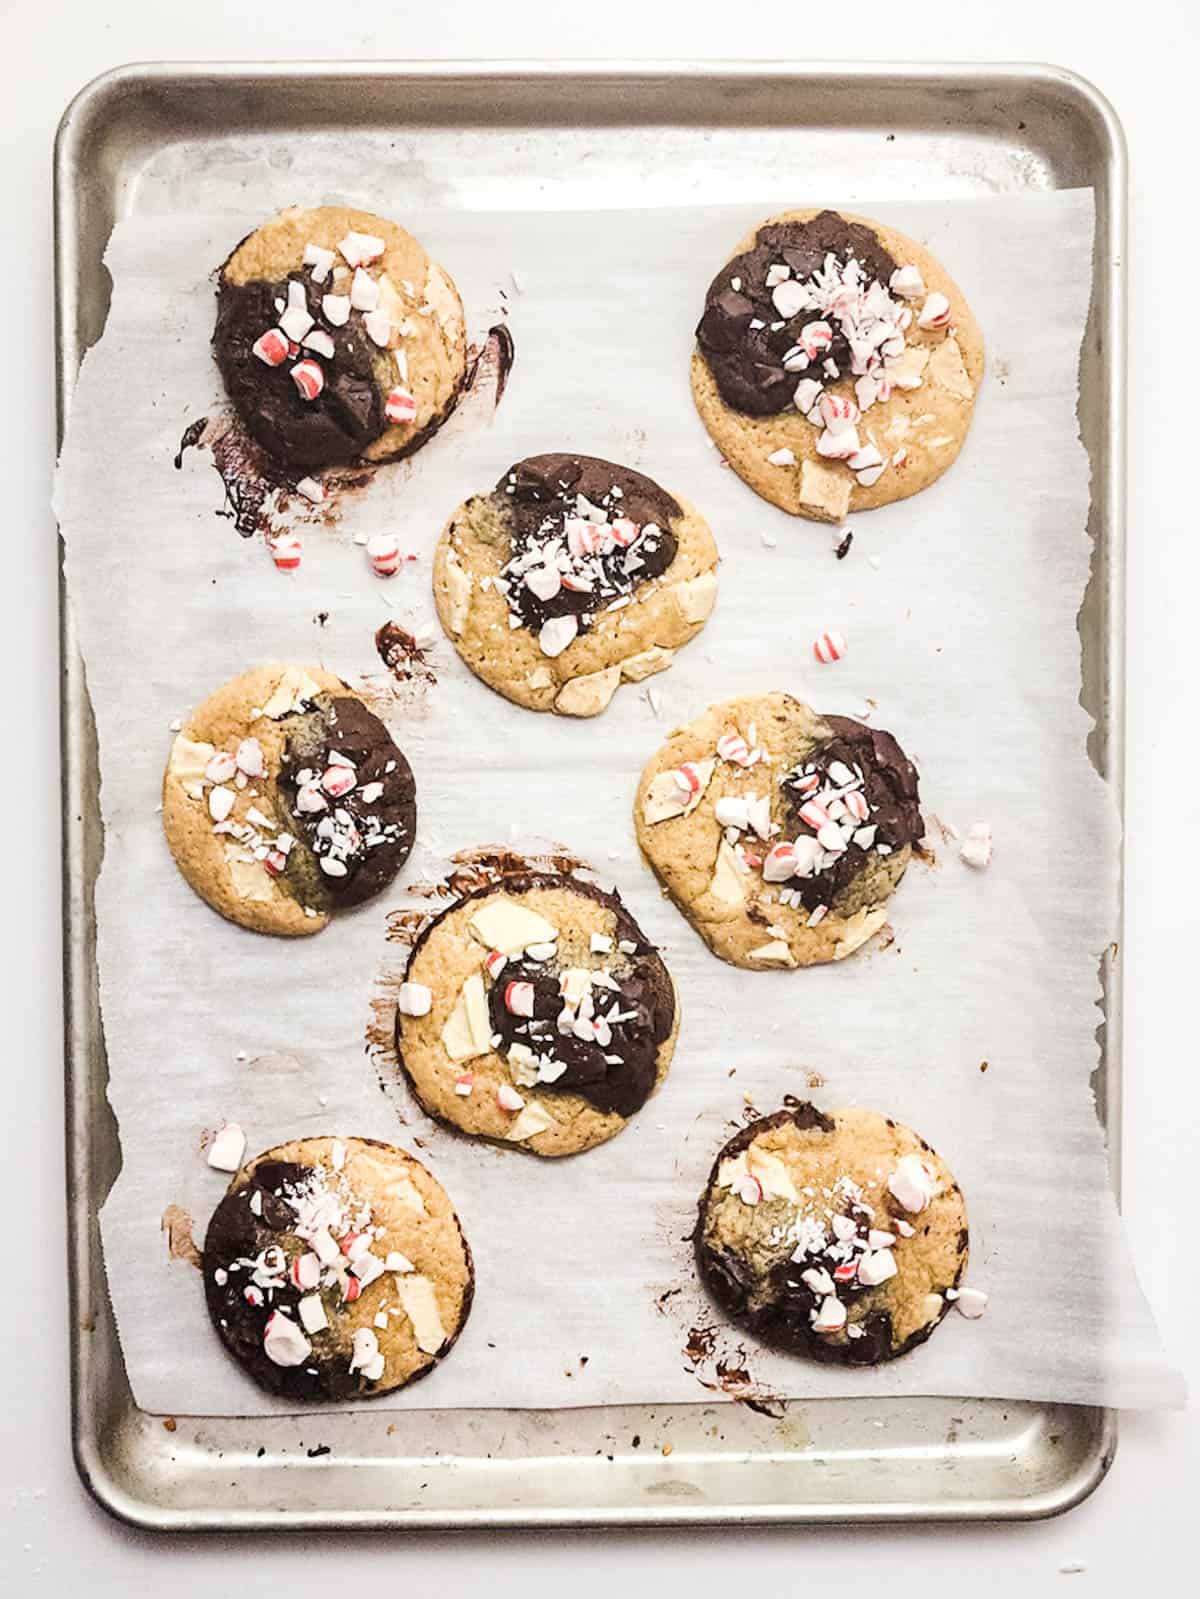
Place each cookie dough ball on the sheet about 2 inches apart from each other, fitting about 8 cookies on one baking sheet at a time.
Step 14
Press each cookie down slightly with the palm of your hand.
Step 15
Press a few dark chocolate and white chocolate chunks into each dough ball before placing in the oven to bake for 13 minutes or until the peppermint cookie just barely begins to brown.
Step 16
Remove from the oven and immediately sprinkle each cookie with crushed peppermint. You can also add a few more chocolate shavings if you are so inclined.
Step 17
Let cool for about 5 minutes before transferring to a cookie rack to cool completely or serving with milk or ice cream. Enjoy!
Variations
- Colored Sugar and Ornaments – Elevate the holiday vibes by decorating the cookies with green or red colored sugar and themed edible ornaments!
- Texture – Mix in some nuts like cashews and almonds for added crunch.
- Dipped – For a party, you can dip these half way into melted white chocolate or regular chocolate and then add the crushed peppermint to that.
Top tips
- If the dough is too sticky, keep it in the fridge for 15-20 minutes more to firm up. Also, put some oil on your hand to act as a barrier for the cookie dough.
- You can make and shape the cookie dough into balls ahead of time. Store them in the fridge, and you have ready to bake cookie dough every time.
- If you don’t want to add extra chocolate chunks before baking, you don’t have to but it does enhance the flavor.
Frequently Asked Questions
The cookies won’t spread out if the baking powder used is expired. Make sure that the baking powder and all the rest of the ingredients are still good to use before proceeding to making the recipe.
Coat your hands with cooking oil or non stick spray. Also try to refrigerate the dough for 20 minutes to firm up so that it’s not too sticky.
Yes, you can make each batter into a log and twist them together then pinch off cookie sized pieces and roll to shape above.

You’re going to love these easy Peppermint Marble Cookies! They’re a fun holiday treat to make for Christmas or any time.
Make sure you don’t lose this recipe by saving it for later! Also, for more recipes make sure you’re following me on Pinterest, Instagram and like my page on Facebook. If you make this recipe, be sure to leave a star rating and tag me in your pictures!
More easy Cookie Recipes
- Snickerdoodle Cookie Cake Recipe
- Apple Cookies with Butterscotch Chips
- Cherry Chip Cake Mix Cookies
- Fruit Bruschetta Sugar Cookies
- Butterscotch Walnut Cookies
- Angel Food Cake Mix Cookies
- Oatmeal Cake Mix Cookies
- Lucky Charms Cookies

Peppermint and Chocolate Marble Cookies
Equipment
- Baking sheet
- Parchment paper
- Cookie Scooper
Ingredients
Dark Chocolate Batter
- ½ cup all-purpose flour
- ¼ cup cocoa powder
- 1 teaspoon espresso powder
- ½ teaspoon baking powder
- ¼ teaspoon salt
- ½ cup semisweet chocolate chips
- 1 ½ tablespoons unsalted butter
- ½ teaspoon vanilla extract
- 2 tablespoons white granulated sugar
- ⅓ cup brown sugar
- 1 egg
- 1 tablespoon milk
White Chocolate Batter
- ¾ cup all-purpose flour
- ½ teaspoon baking powder
- ¼ teaspoon salt
- ½ cup white chocolate chips
- 1 ½ tablespoons unsalted butter
- ½ teaspoon peppermint extract
- ⅓ cup white granulated sugar
- 2 tablespoons brown sugar
- 1 egg
- 1 tablespoon milk
- ½ cup white chocolate chunks use store bought chunks or cut a white chocolate bar
- ½ cup dark chocolate chunks use store bought chunks or cut a dark chocolate bar
For topping:
- Crushed Peppermint, for garnish
- White and Dark Chocolate Bars, with some chopped and some shaved
Instructions
- In a bowl whisk the flour, cocoa powder, espresso powder, baking powder and salt for the chocolate cookie dough first. Whisk until combined and set aside for the vanilla peppermint cookie dough.
- In a small bowl add the semi-sweet chocolate chips and butter. Microwave at 30 second intervals, stirring in between until fully melted.
- Add the vanilla, sugar and brown sugar to the bowl and mix until combined.
- Crack in the egg and add the milk and mix once more until smooth.
- Pour these wet ingredients into the dry ingredients set aside earlier. Fold everything together until a thick chocolate batter is formed. Cover in plastic wrap and refrigerate.
- In another clean bowl, add the dry ingredients of flour, baking powder and salt and whisk together until combined. Set aside.
- In a small bowl add the white chocolate chips and butter, microwaving at 30 second intervals until melted, stirring in between.
- Add the sugars to the white chocolate and mix until combined. If the chocolate mixture is a bit thick and clumpy don’t worry, it will thin out with the egg and milk addition.
- Add the egg, peppermint extract and milk to the white chocolate mixture and mix until no more clumps exist, and you have a smooth batter.
- Pour this into the set aside dry ingredients. Fold together until combined and a thick batter has formed. Cover with plastic wrap and refrigerate for 30 minutes.
- Preheat the oven to 350 degrees Fahrenheit and prepare a baking sheet with parchment paper.
- Remove the cookie doughs from the fridge and use a small scooper to scoop about a 1-inch round of the chocolate dough and 1 inch round of the peppermint dough. Place both in your hand and press together to form a ball. Roll in your hands to help the two doughs combine and create a marble look.
- Place each cookie dough ball on the sheet about 2 inches apart from each other, fitting about 8 cookies on one baking sheet at a time.
- Press each cookie down slightly with the palm of your hand.
- Press a few dark chocolate and white chocolate chunks into each dough ball before placing in the oven to bake for 13 minutes or until the peppermint cookie just barely begins to brown.
- Remove from the oven and immediately sprinkle each cookie with crushed peppermint.
- Let cool for about 5 minutes before transferring to a cookie rack to cool completely or serving with milk or ice cream. Enjoy!
Notes
- If the dough is too sticky, keep it in the fridge for 15-20 minutes more to firm up. Also, put some oil on your hand to act as a barrier for the cookie dough.
- You can make and shape the cookie dough into balls ahead of time. Store them in the fridge, and you have ready to bake cookie dough every time.
- If you don’t want to add extra chocolate chunks before baking, you don’t have to but it does enhance the flavor.


