Stupid Easy Knotted Yarn Garland for Winter
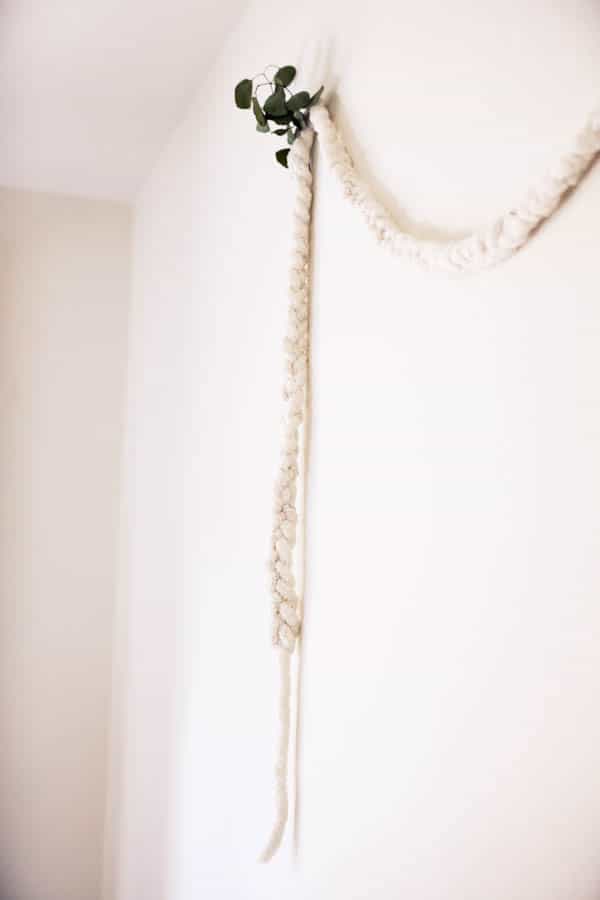
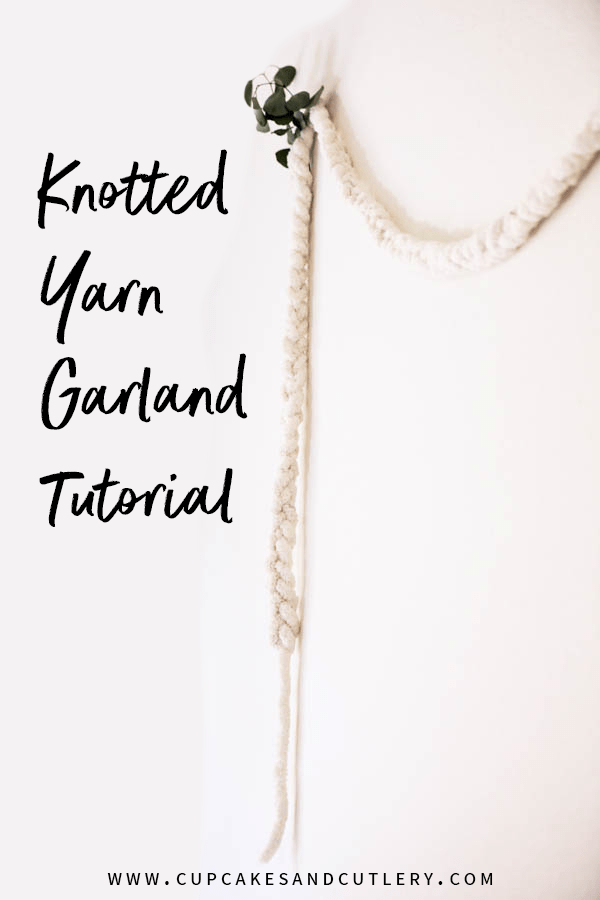
This simple knotted yarn garland is awesome for the winter months especially with the addition of some eucalyptus. You should totally make this.
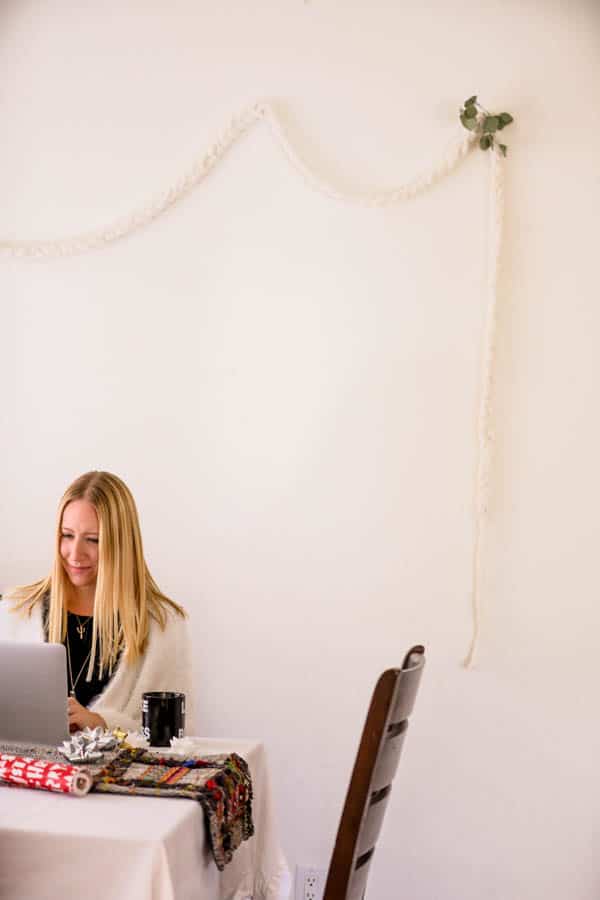
I’m obsessed with simple garlands. Ever since I started throwing parties when I had kids, garlands were the quickest way to make a room feel festive without much effort. And one of my favorite materials for garlands is yarn. It’s super inexpensive, totally versatile and can make a big impact without a lot of work. Which is perfect for me since I self-identify as lazy.
I have a big open wall in my dining room that I won’t hang pictures on. It’s my go-to place for garlands when we have any kind of party or need a celebratory decoration. Most of the time I add multiple strings on the wall (like I did here with my fabric fringe garlands), but for simplicity’s sake, I wanted to just show you one of these yarn garlands so you could get a good feel for it.
How to Make a Knotted Yarn Garland
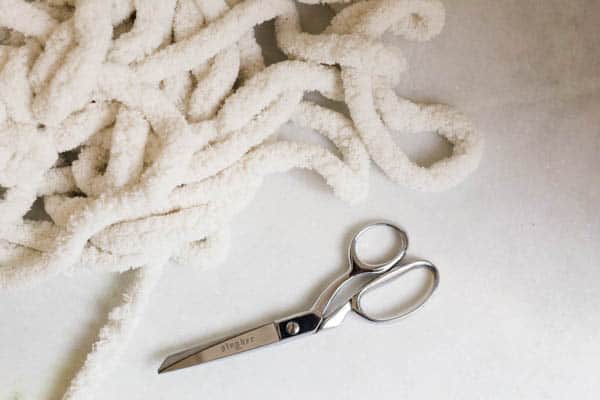
Just look at this yarn!!! It’s so big and cozy feeling. I always have a skein of this on hand. I use this in place of ribbon for wrapping gifts. I really like the look of macrame so I love using different sizes of natural yarns and ropes for decorating and gifting. You can use any kind of yarn, but you’ll get a larger, fluffier looking yarn garland if you use a thicker yarn or rope.
Supplies needed:
• Yarn (SO soft!)
• Scissors (Yes, I have favorite scissors and these are them. They are sharp, and feel nice in your hand and they’re really pretty! If loving a pair of scissors is wrong, I don’t want to be right!)
• Your hands
Instructions:
There is a name for this type of knot. However, I have no idea what it is. This knot is not complicated and there are probably way too many photos to show you what to do but I wanted to make sure you could easily make this yarn garland with no confusion. My plastic party streamers post is super confusing for people. So hopefully this one is easy to follow!
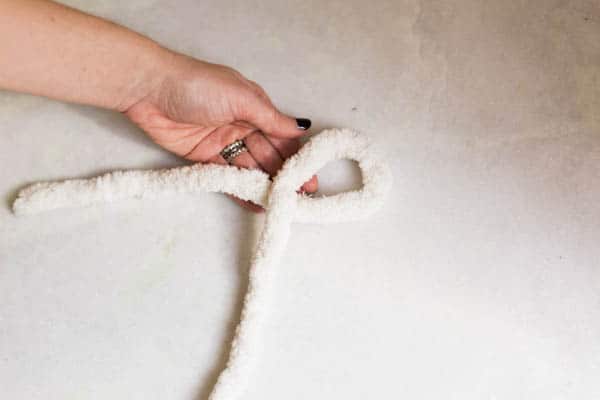
Step 1: Make a loop with the yarn.
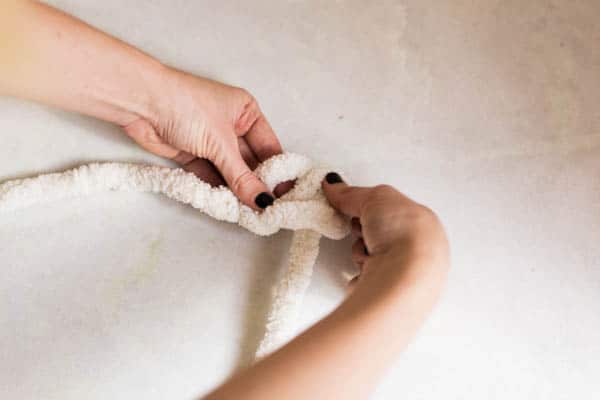
Step 2: Take the long end of the yarn and begin to pull it through the loop that you just made.
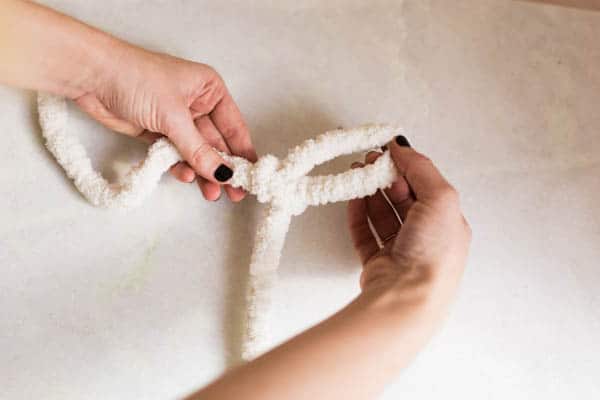
Step 3: Do not pull the yarn all the way through but create another loop.
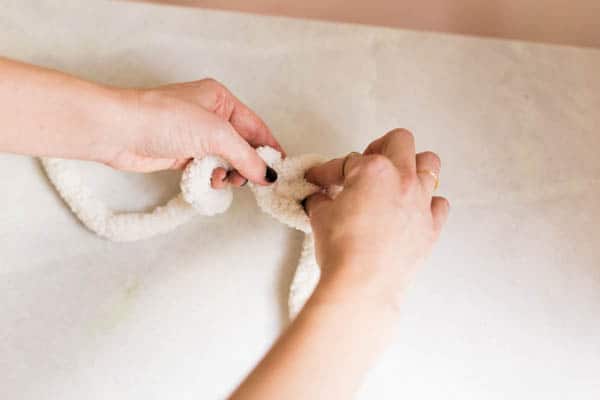
Step 4: Keeping the yarn taut in the left hand, tighten up the loop you just made by pulling the long string like you are about to undo what you just did, but don’t pull it all the way back out. You’re just trying to tighten things up before creating the next loop. I like to leave about an inch of the loop. Then create another loop (shown above).
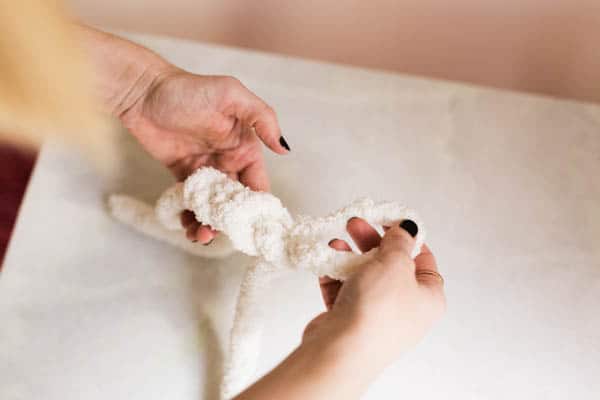
Step: Repeat, tightening the loops as you go. This ensures that the garland will be uniform in width and not look messy.
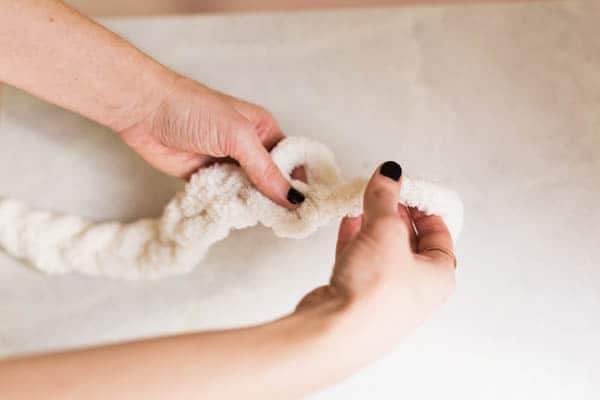
Continue making looks until your garland is complete. For the finished version that you see at the very top, I knotted the entire length. It’s super fast to do this and it’s totally something you can do while watching TV (my favorite type of craft). You can also just use this knotting technique at various points on the garland. Head over to my fall outdoor movie night post to see what I mean. I did this same knot on a rope that I draped over the movie screen. (It’s my favorite not. It’s so stupid easy to do.)
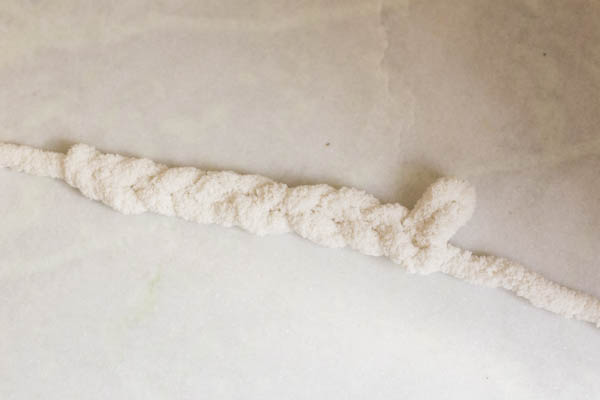
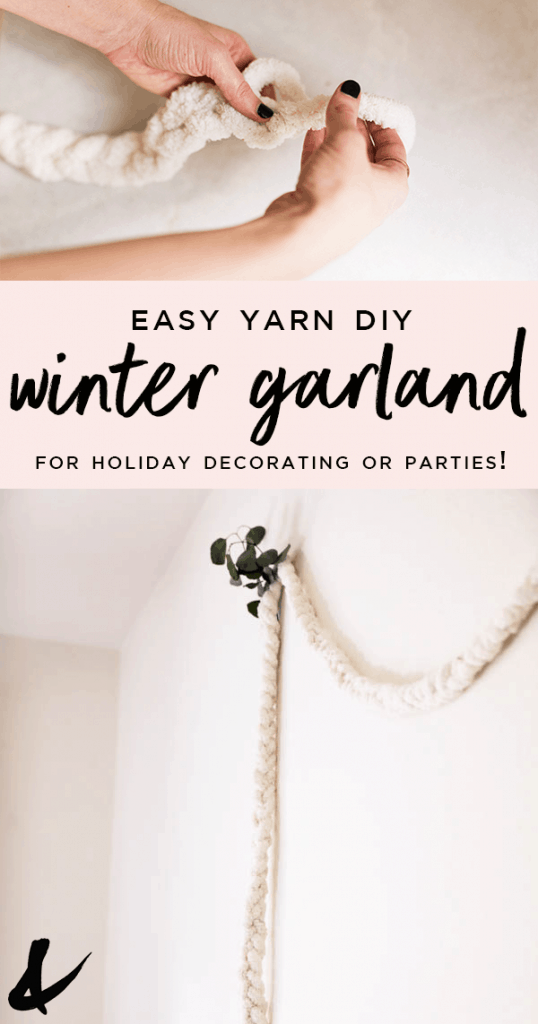
Here’s a better look of what it looks like in the middle of the process.
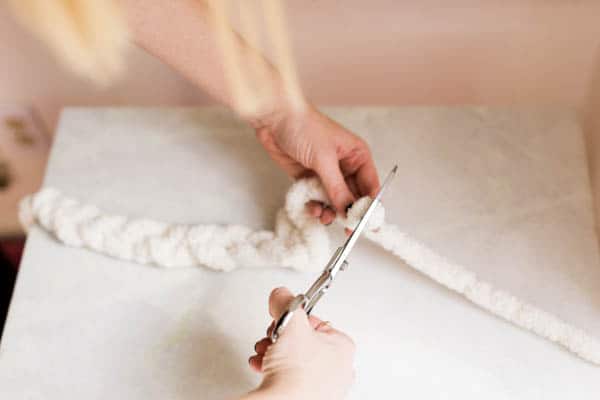
When you have finished knotting your whole garland, it couldn’t be easier to finish off. You’ll want to leave about a foot and a half of yarn past your last loop. Then cut the yarn from the rest of the skein.

Pull the now loose end all the way through your last loop and it will knot the yarn. Done. That’s all it takes.
Up until this last knot, it’s very easy to undo the knots on the whole garland so it’s not something I would walk away from. If your kid makes one hard tug, all your work could be down the drain. Does any of this make sense?
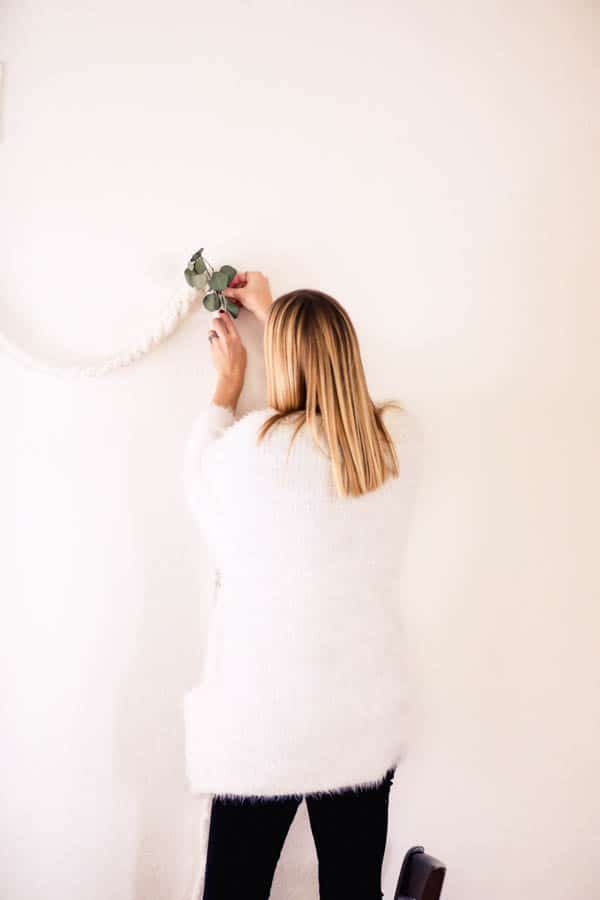
I have nails in my wall at all times so I can easily throw up decorations. These garlands are pretty light so you don’t need a huge nail. Straight pins would probably even work as long as they are long enough to fit into the wall to be sturdy and still have enough sticking out for the garland to catch on.
To make these knotted yarn garlands even more wintery I tucked a little bit of eucalyptus into them. I love how it looks with the leaves. Eucalyptus is another thing I always gravitate towards in winter. A garland made of eucalyptus would also be cool on your wall. You could even hang the yarn one with it for a layered look.
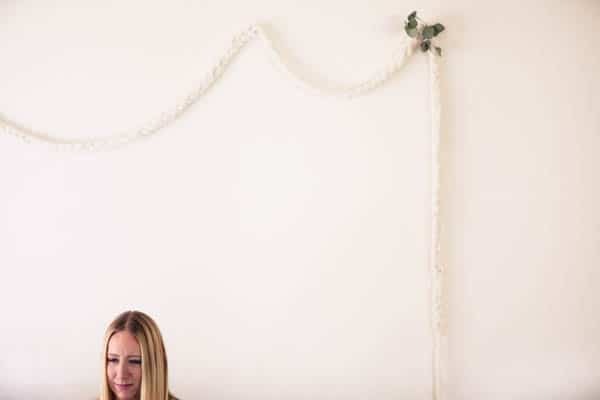
I love this white on white look for the Christmas season. It blends in but gives your house a real cozy feeling which is sometimes hard to find in Southern California.
Not only do these knotted garlands look good on the wall, but they would also be great to trim your tree with. A few of these draped around the tree would be a perfect addition to your holiday decorating!
I love simple decorations and these knotted yarn garlands are easy to make and hang! Mix these with braided yarn garlands and other swagged yarn for a really cozy, layered look. Yarn decorating is my fave!
Step by step images by Dez and Tam Photography
Finished garland images by BleuDog Fotography


How many skeins does a garland need?
It needs only part of one! I used a really thick yarn so it makes the garland thicken than if you use standard yarn.