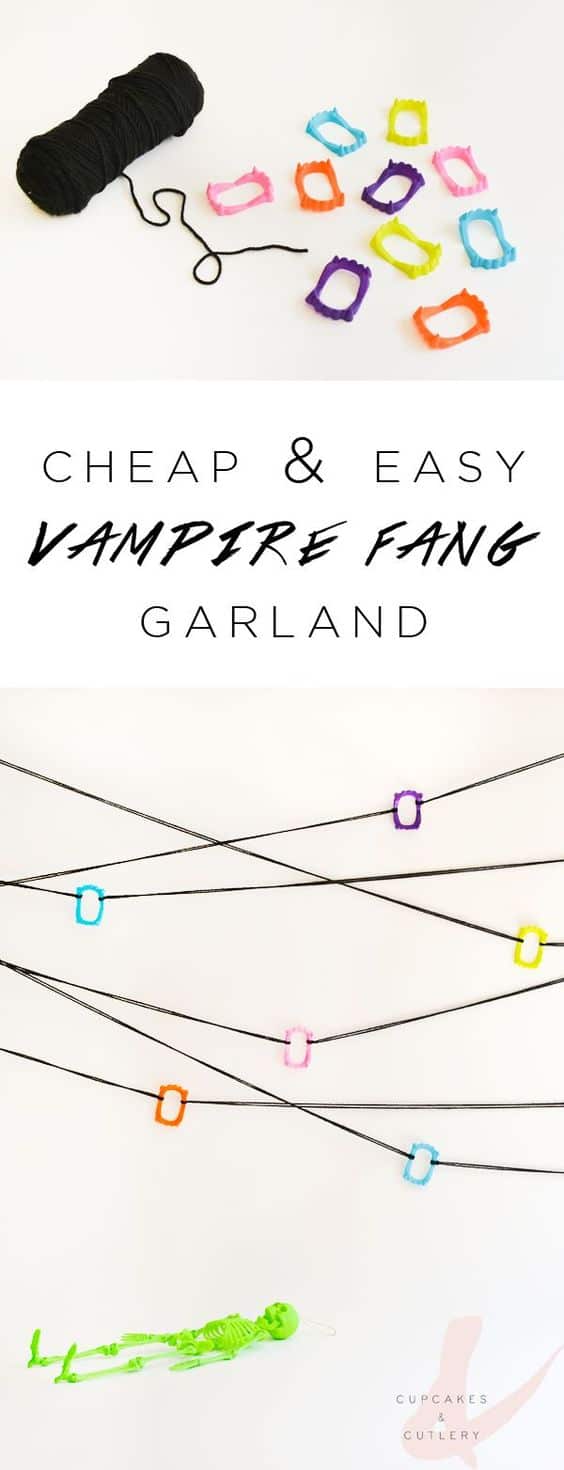
Easy Plastic Fang Halloween Decor Tutorial
Do you like to make your own Halloween decor? This easy wall decoration uses inexpensive plastic fangs to create a creepy, yet colorful backdrop on your wall. Follow this tutorial to create this Plastic Fang Halloween decor that is perfect for Halloween parties or a spooky vignette in your home! 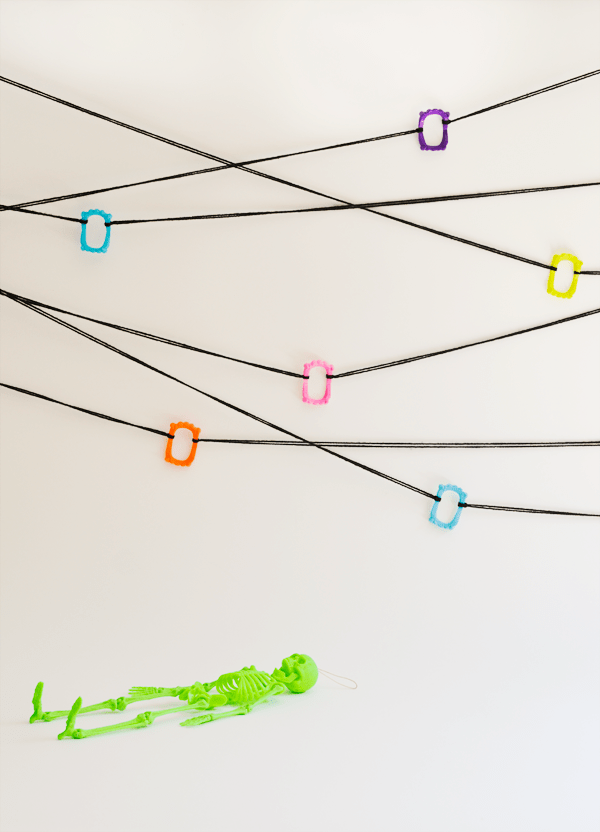
Some links in this post may be affiliate links. As an Amazon Associate in the Amazon Services LLC Associates Program, I earn from qualifying purchases by linking to Amazon.com and affiliated sites. I also participate in other affiliate programs for other retailers.
Quick and Easy Plastic Fang Halloween Decor
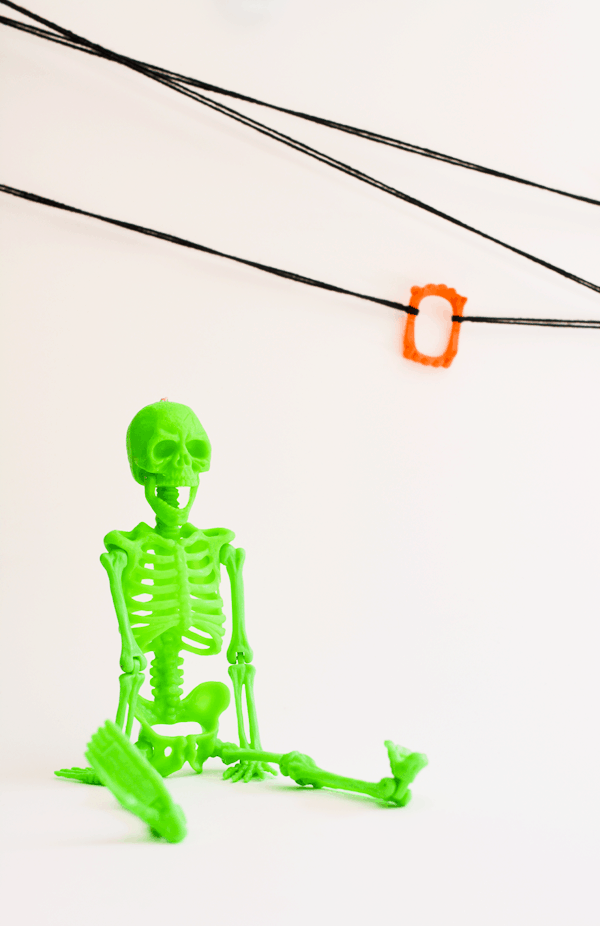
My kids are so excited about Halloween this year. They have been wanting to decorate for the last few weeks. But since Halloween is my least favorite holiday I have been stalling. Then we found this awesome neon green skeleton. He reminded me that the decorations don’t need to be so gory and dark.
And because these decorations are only kept up for a short period of time, I like really easy Halloween decorating ideas. If they are inexpensive, that’s even better.
When I saw these colorful and cheap plastic vampire fangs, it just made sense to do something with them. This plastic fang Halloween garland idea is a cute DIY craft!
How to Make Plastic Vampire Teeth Wall Decor
Supplies:
- String or yarn
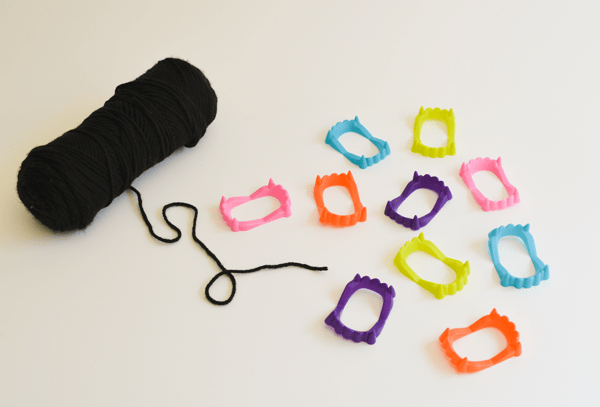
- Pack of plastic fangs (similar to those shown)
- Tape
You can pick whatever color string you want. And the teeth come in all kinds of colors depending on where you buy them. They even have a glow in the dark version which would work great if you had darker walls.
Instructions:
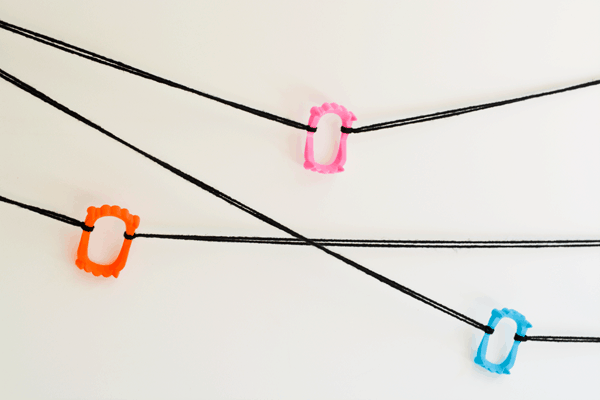
Tie a knot or loop the yarn around one side of the plastic fangs. Do the same thing to the other side. Attach the ends of the yarn to the wall with washi tape or tie them to straight pins or nails.
You can tie several on one piece of string. Just do what you think looks best. 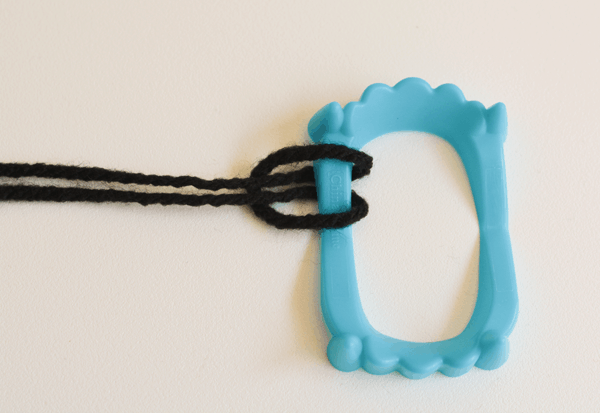
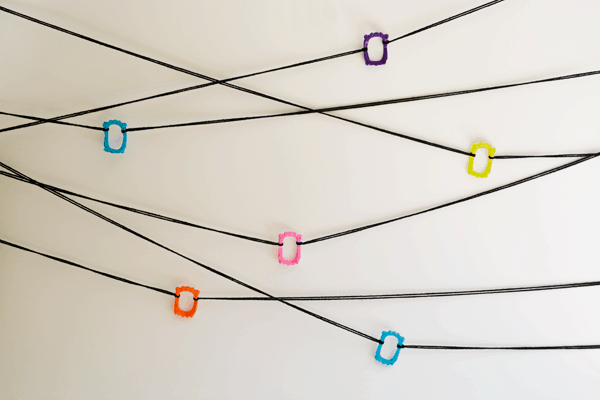
Not only will this help to hold the string a little better, but no make it look like you designed it that way and didn’t just stick it up on the wall with tape.
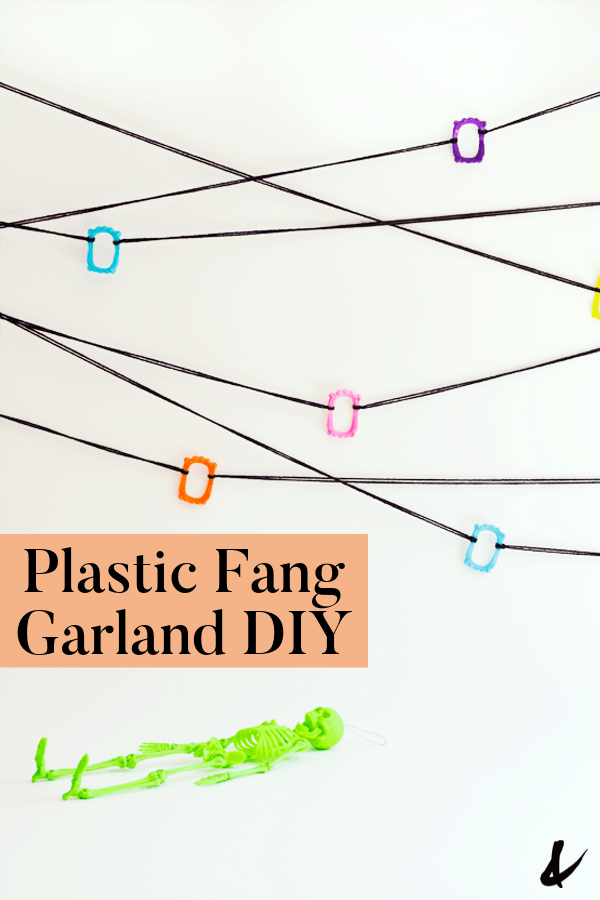
This set up would work really great as a photo backdrop for your Halloween party.
And of course, you should set out extra teeth to use as props in the photos. Just make sure each person takes their teeth with them after they’ve used them.
Because, ew.
See, your Halloween home decor totally doesn’t have to be complicated. 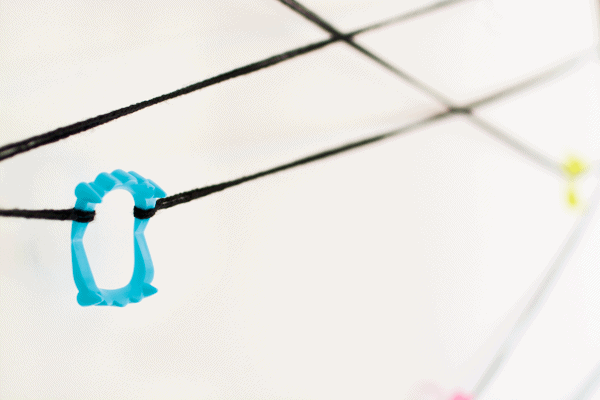
Cute, right?
And it couldn’t be easier!
Easy Plastic Fang Halloween Garland
Equipment
- Scissor
Ingredients
- String or yarn
- Pack of plastic fangs
- Tape
Instructions
- Tie a knot or loop the yarn around one side of the plastic fangs.
- Do the same thing to the other side.
- Attach the ends of the yarn to the wall with washi tape or tie them to straight pins or nails.
- Use plastic teeth to create this fun Fang Mobile.
- It doesn’t get more simple than this Easy Wire “Boo” Sign.
- Your kids will love this fun twist on a classic holiday activity, Clove and Orange “Pumpkins”
Pin This Plastic Vampire Teeth Halloween Garland Idea for Later
This easy plastic fang Halloween decor is perfect for the busy mom looking to make her kids smile without spending a ton of money or taking a lot of time!


